This post may contain affiliate links. As an affiliate member I may receive a commission at no extra cost to you.
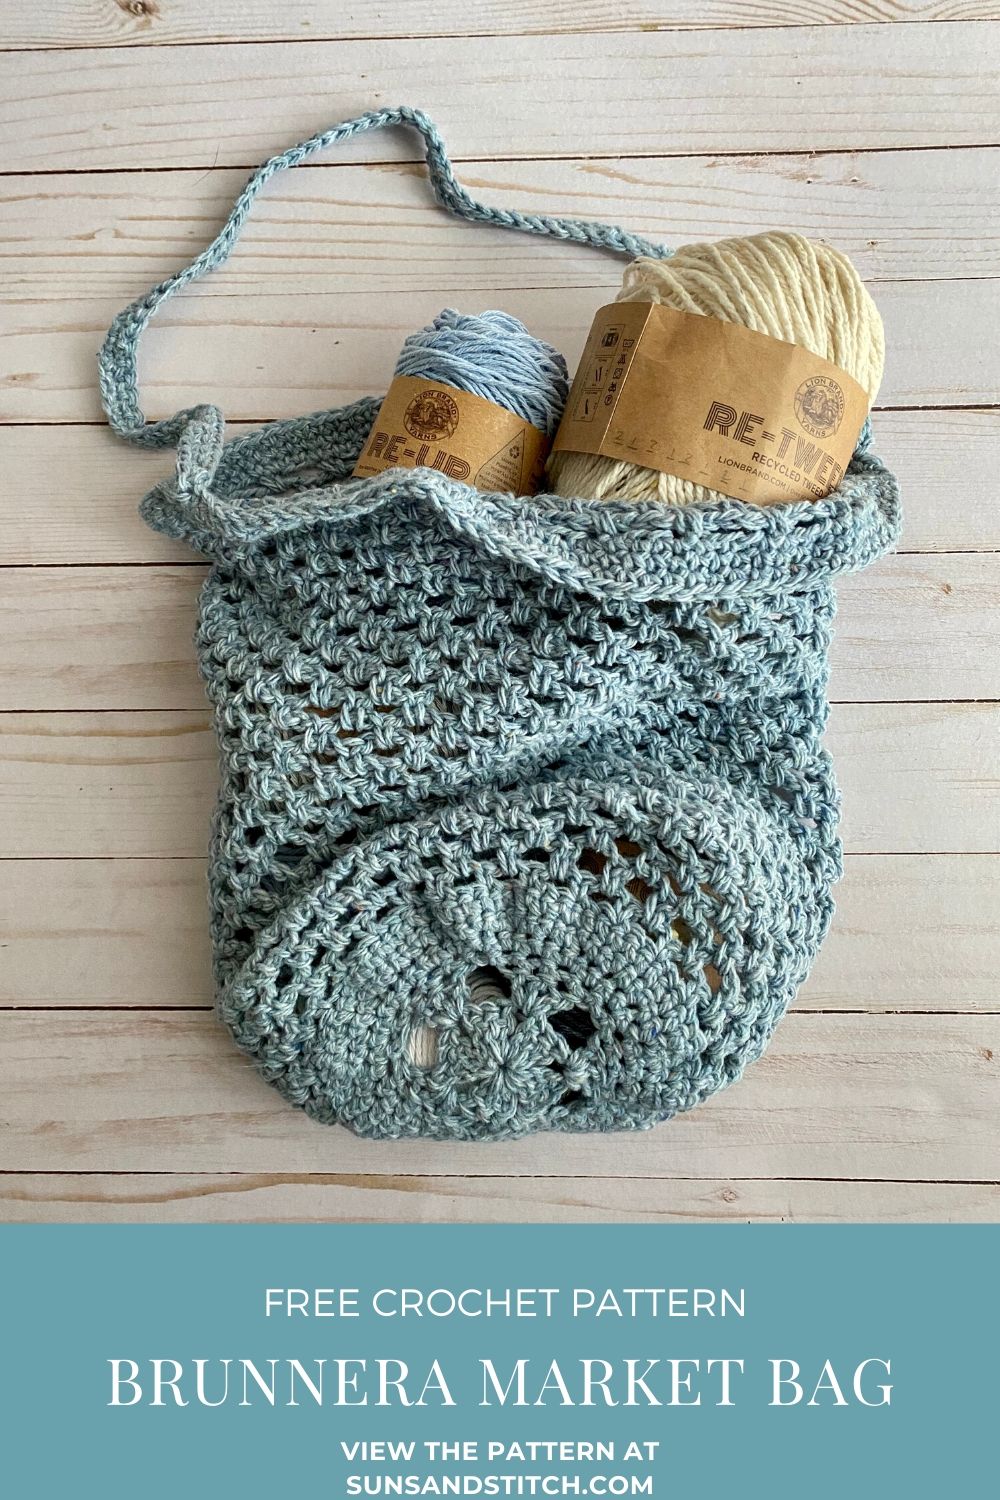
The other day I was in line at the store and I saw this woman who had a reusable market bag that she was using to hold her fruits and veggies. I loved the look of the bag and, of course, I thought “I could make that!” So here is my take on it.
This is the Brunnera Market Bag (pronounced bruh-NEER-uh). This pattern was inspired by the Brunnera flower. It is a small, blue, 5 petal flower native to eastern Europe and northwest Asia. It is such a simple-looking little flower, which is what I wanted for this pattern; a simple design.


Pin this pattern for later on Pinterest!
You can purchase the ad-free PDF on Etsy and Ravelry!
Materials:
– 1 skein of Lion Brand Re-tweed yarn or approx. 190 yards of worsted weight #4 yarn
– Size I/ 5.5 mm crochet hook (or hook to obtain gauge)
– Stitch marker (optional but can help identify your starting point)
– Scissors
– Yarn needle
Pattern Notes:
– This pattern is written in US terms
– Ch 1 at beginning of row does not count as a stitch
– Pattern is worked in the round
– Numbers in parentheses at end of each round indicate number of stitches for that round
– Stitch marker will be placed on the ch 1 of each round (optional)
– Body of bag is worked in continuous rounds so there is no seam (rows 8- 33)
Stitches:
Ch = Chain
Dc = double crochet
MR = Magic Ring
Sc = single crochet
Sp = space
Sl st = slip stitch
Gauge:
4 inches = 17 stitches x 11 rows
Gauge should be done in the round.
Finished Measurement:
Finished product measures approx. 14 inches tall and 11 inches wide (not including the strap).
Pattern:
Create a MR.
Row 1 (base): Ch 2 (counts as first dc). 2dc in the ring. Ch 2. *3dc, ch 2. Repeat from * three times. (total of 15 dc).
Row 2 (base): Ch 4. 3 dc in the next ch 2 space from the previous row. Ch 2, *3dc in the next ch 2 space. Ch 2. Repeat from * around. In the last ch 2 sp [2 dc, sl st to the 2nd chain of the initial ch 4]. Total of 15 dc.
Row 3 (base): Ch 1. Sc in each stitch around (24).
Row 4 (base): Ch 1. 2 sc in each stitch around (48).
Row 5 (base): Ch 1. 2 sc in the first stitch. Sc in the next stitch. *2 sc, 1 sc. Repeat from * around. (72).
Row 6 (body): Ch 1. Sc in the first stitch. Ch 2. *Sk 2 stitches, sc in the next stitch. Ch 2. Repeat from * around. Sl st to the top of the ch 1.
Row 7 (body): Ch 4. Sc in the first ch space. Ch 3. *Sc in the next ch space. Ch 3. Repeat from * around. You will end the row with 25 ch 3 spaces.
Row 8- 33 (body): Ch 3. Sc in the next ch 3 space. Place a stitch marker in the ch 3 space you just created. (This will be your starting point for this round) *Ch 3, sc in the next ch 3 space. Repeat from * around. Note: you will work in continuous rounds. Move the stitch marker up each round to keep your place.
Row 34 (body): (Note: Continue working in the round.) Ch 3. Sc in the next ch 3 space. *Ch 3, sc in the next ch 3 space. Repeat from * around. Sl st in the ch 1 of the beginning ch 3.
Row 35: Ch 1. Sc in each stitch around (101).
Row 36- 37: Repeat row 35 (101).
Row 38 (strap): Ch 70. Sl st on the opposite side (70).
Row 39 (strap): Ch 1 sc in each stitch. Sl st into the beginning stitch. (70).
Row 40 (strap): Ch 1. Sc in each stitch. Sl st into the beginning stitch (70).
Cut yarn and weave in tails with a yarn needle.
That’s it! I hope you enjoyed this pattern. Share your finished projects with me on social media:
Instagram: @SunSandStitch
Facebook: Facebook.com/SunSandStitch
Pinterest: Pinterest.com/SunSandStitch
Feel free to sell items from this pattern, but I do ask that you reference me as the creator of the design. Please do not use my photos.
Happy Stitching!
Jess

