
This post may contain affiliate links. As an affiliate member I may receive a commission at no extra cost to you.
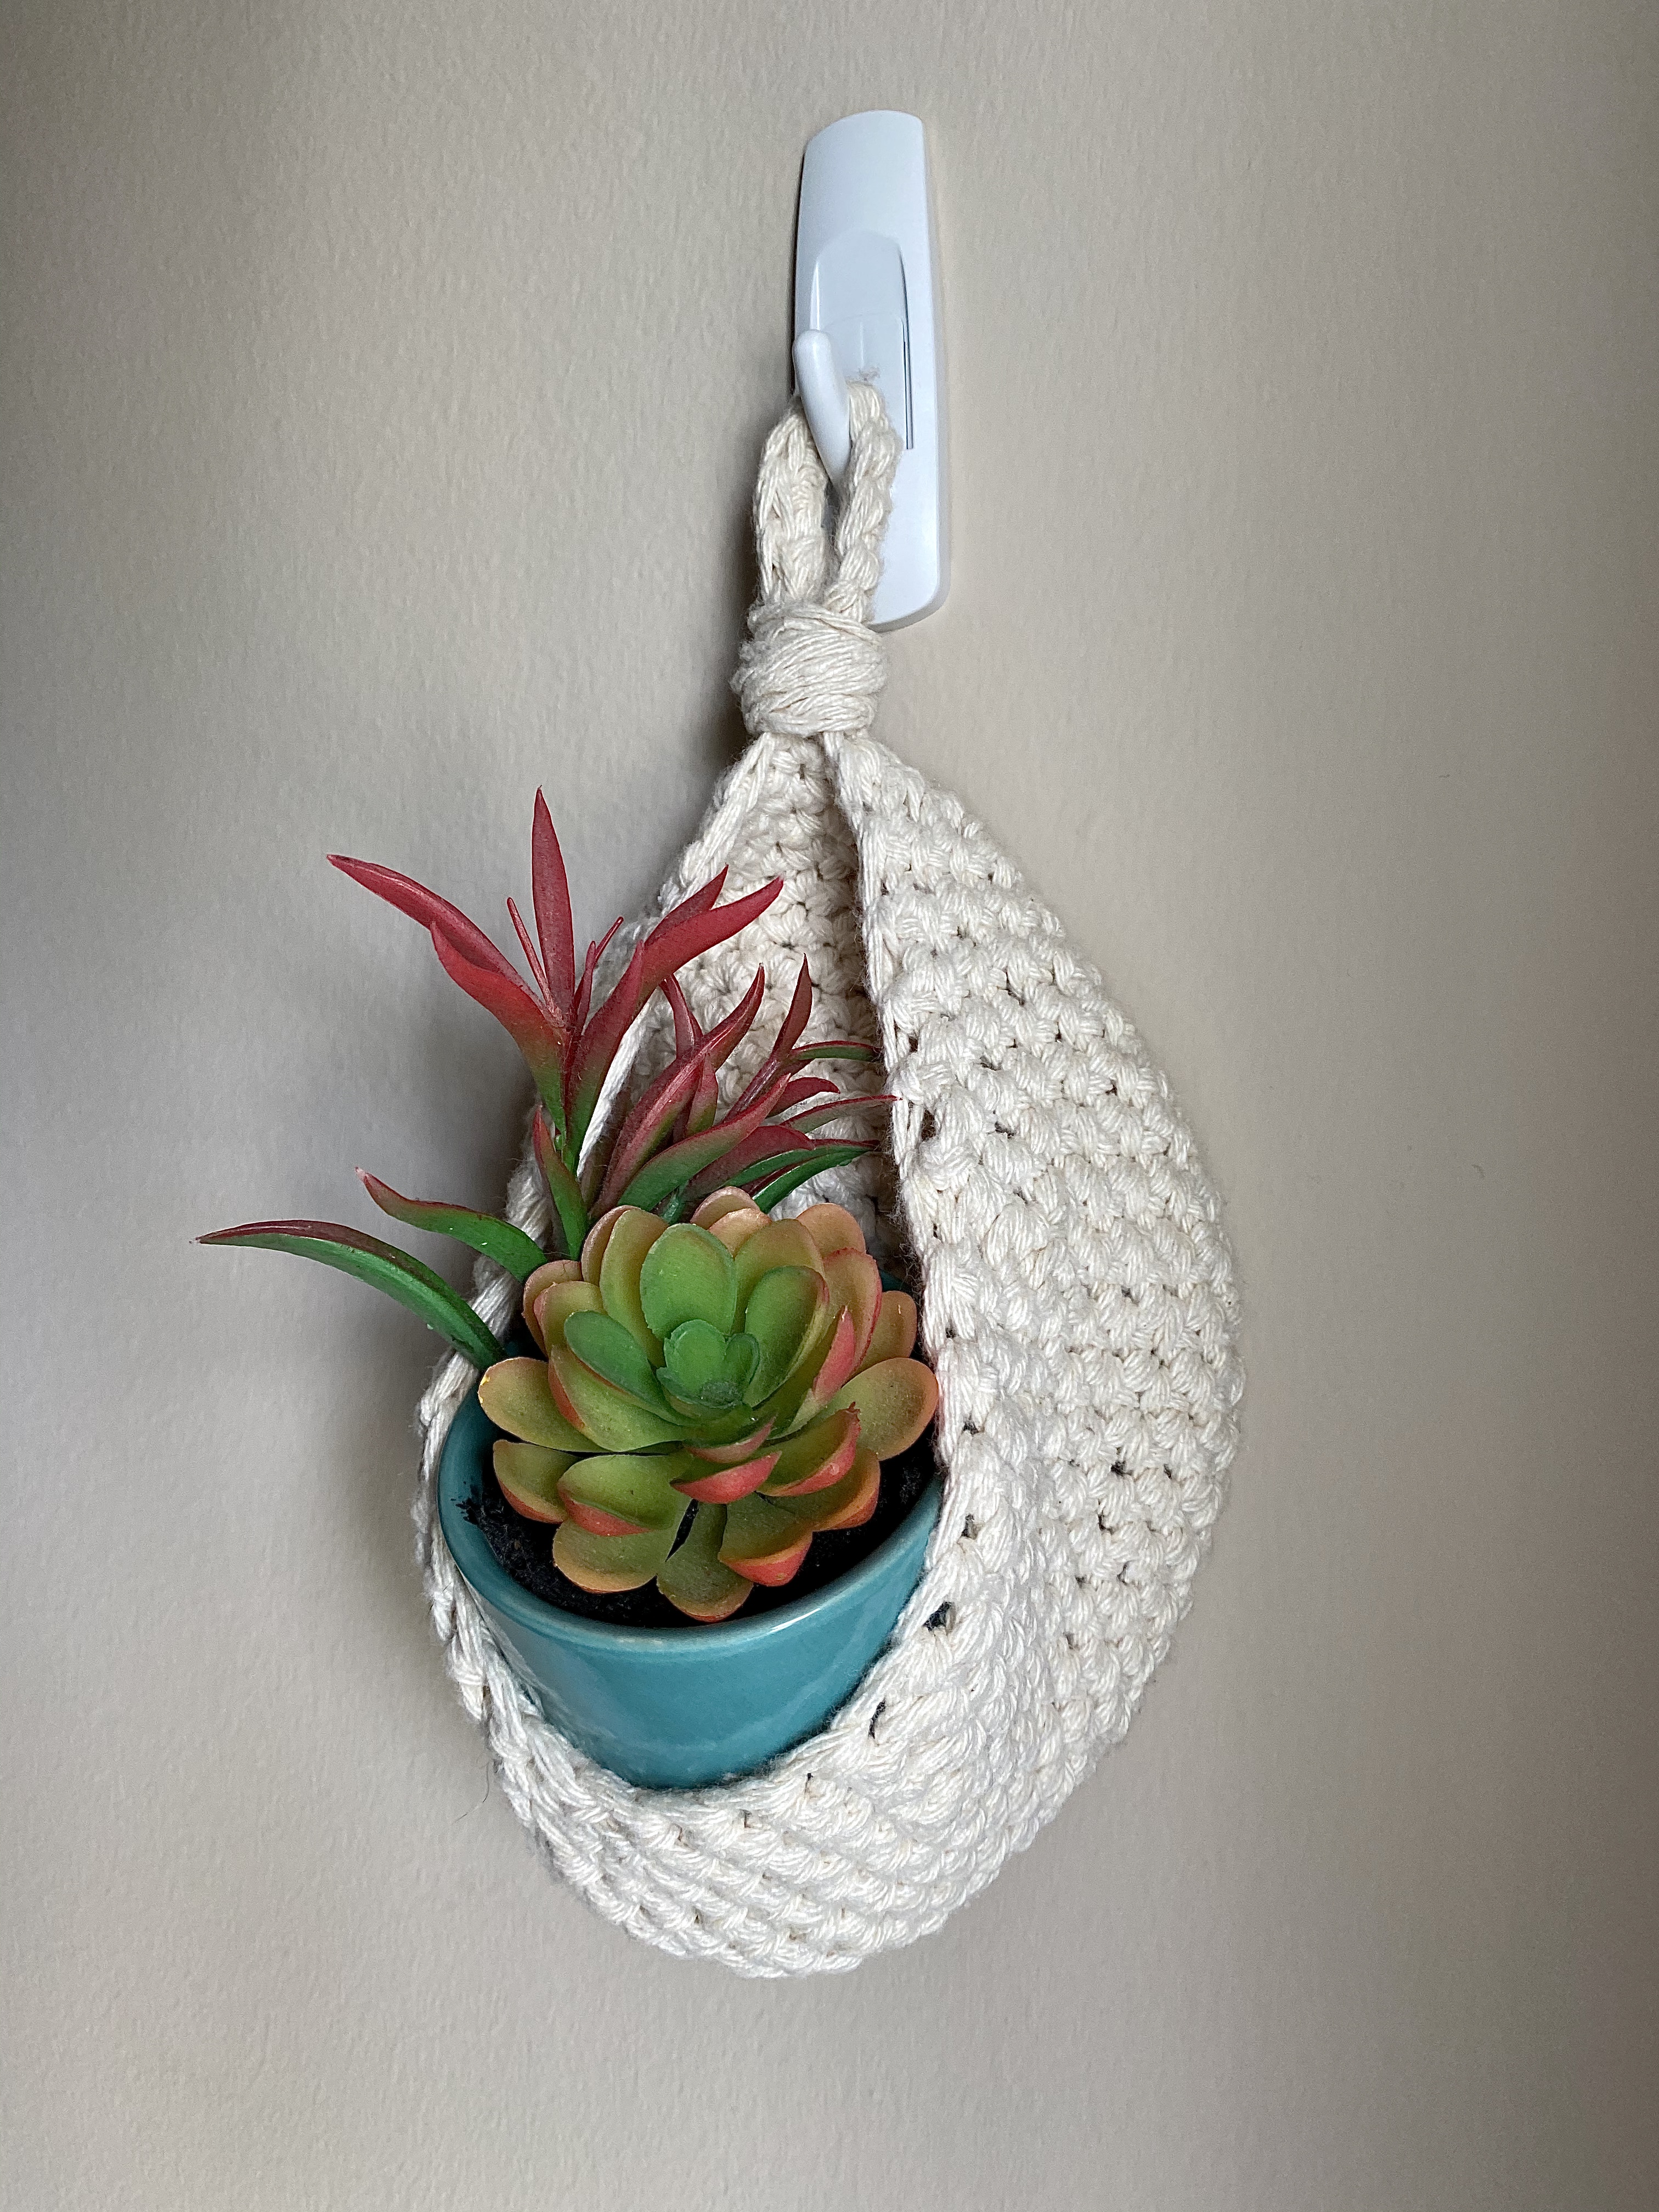
One of the goals in our house this year is to save money and be healthier by cooking more at home and ordering take-out less. I love to cook with fresh ingredients so I created this pattern so I could have herbs in my kitchen. If herbs aren’t your thing, you could use this plant holder for succulents and small indoor plants too.
This pattern uses Lionbrand re-up yarn. This yarn is my new favorite because it is made from recycled cotton so it is durable and eco-friendly. This pattern is worked by using two strands at once so the holder keeps its shape well.
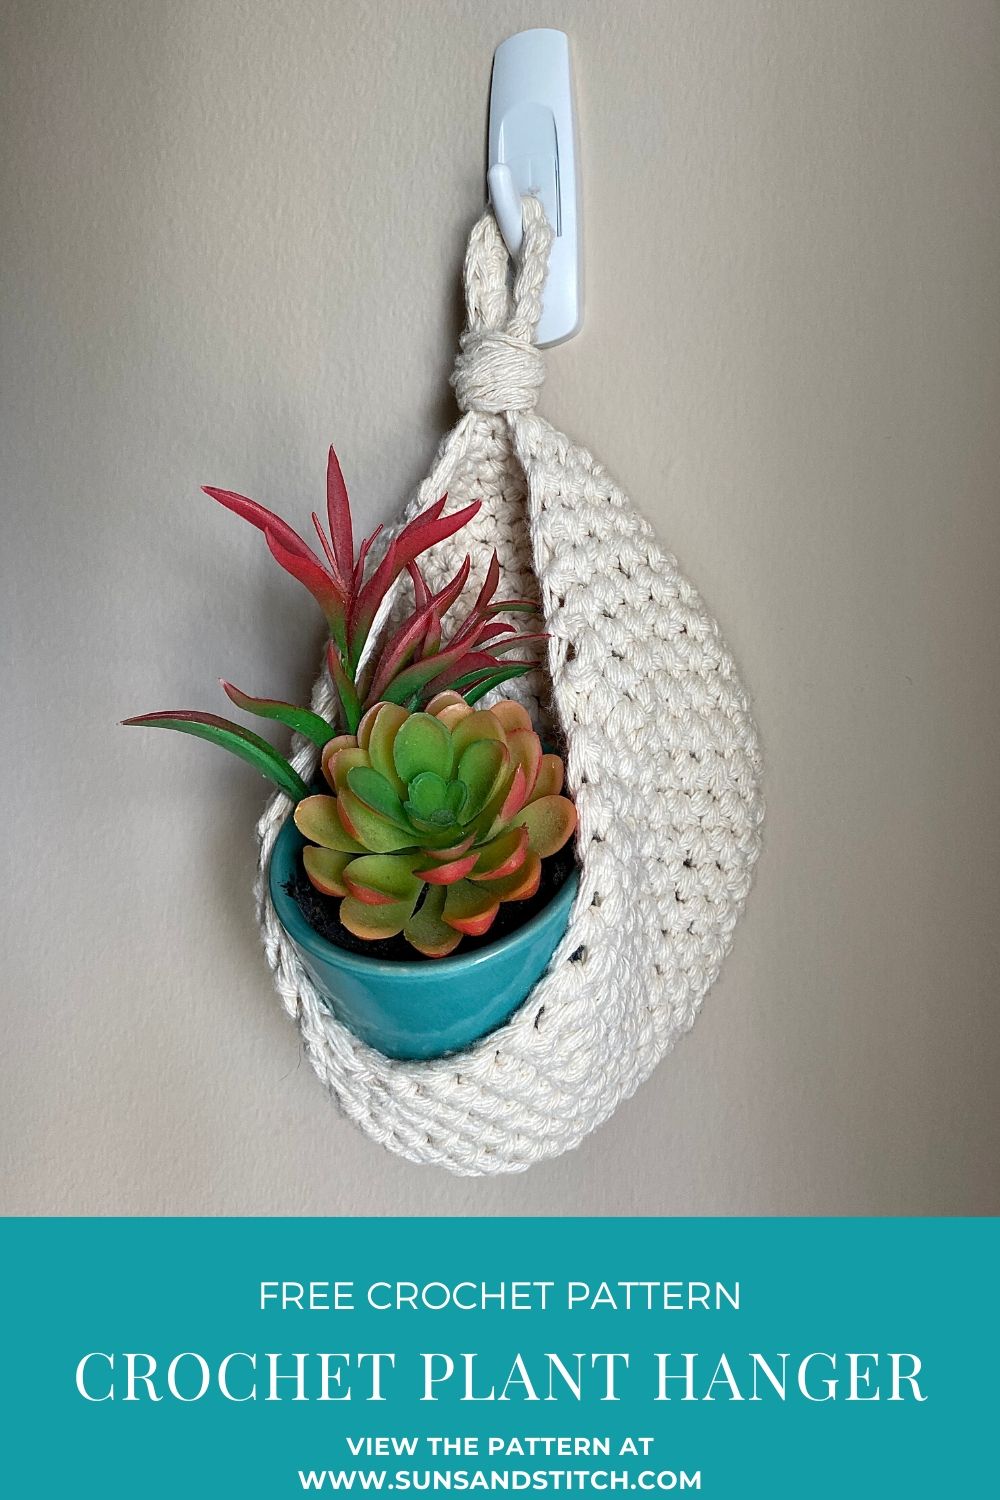
Save this pattern for later on Pinterest!
You can get the ad-free PDF on Etsy and Ravelry!
Materials:
– 2 skeins of Lion Brand Re-up yarn (I used the color Ecru), or approx. 92 yards of worsted weight #4 yarn
– Size H/ 5 mm crochet hook (or hook to obtain gauge)
– Stitch marker (optional but can help identify your starting point)
– Scissors
– Yarn needle
– Hanging hardware for your wall (sample photos used removable command hooks by 3M)
– Small potted plant
Pattern Notes:
– This pattern is written in US terms
– For the entirety of the pattern you will be working with 2 strands at the same time
– Ch 1 at beginning of row does not count as a stitch
– Pattern is worked in the round
– Numbers in parentheses at end of each round indicate number of stitches for that round
– Stitch marker will be placed on the ch 1 of each round (optional)
Stitches:
Ch = Chain
MR = Magic Ring
Sc = single crochet
Sc2tog= single crochet 2 stitches together (this is a single crochet decrease)
Sl st = slip stitch
Gauge:
2 inches = 7stitches x 8 rows
Gauge should be done in the round.
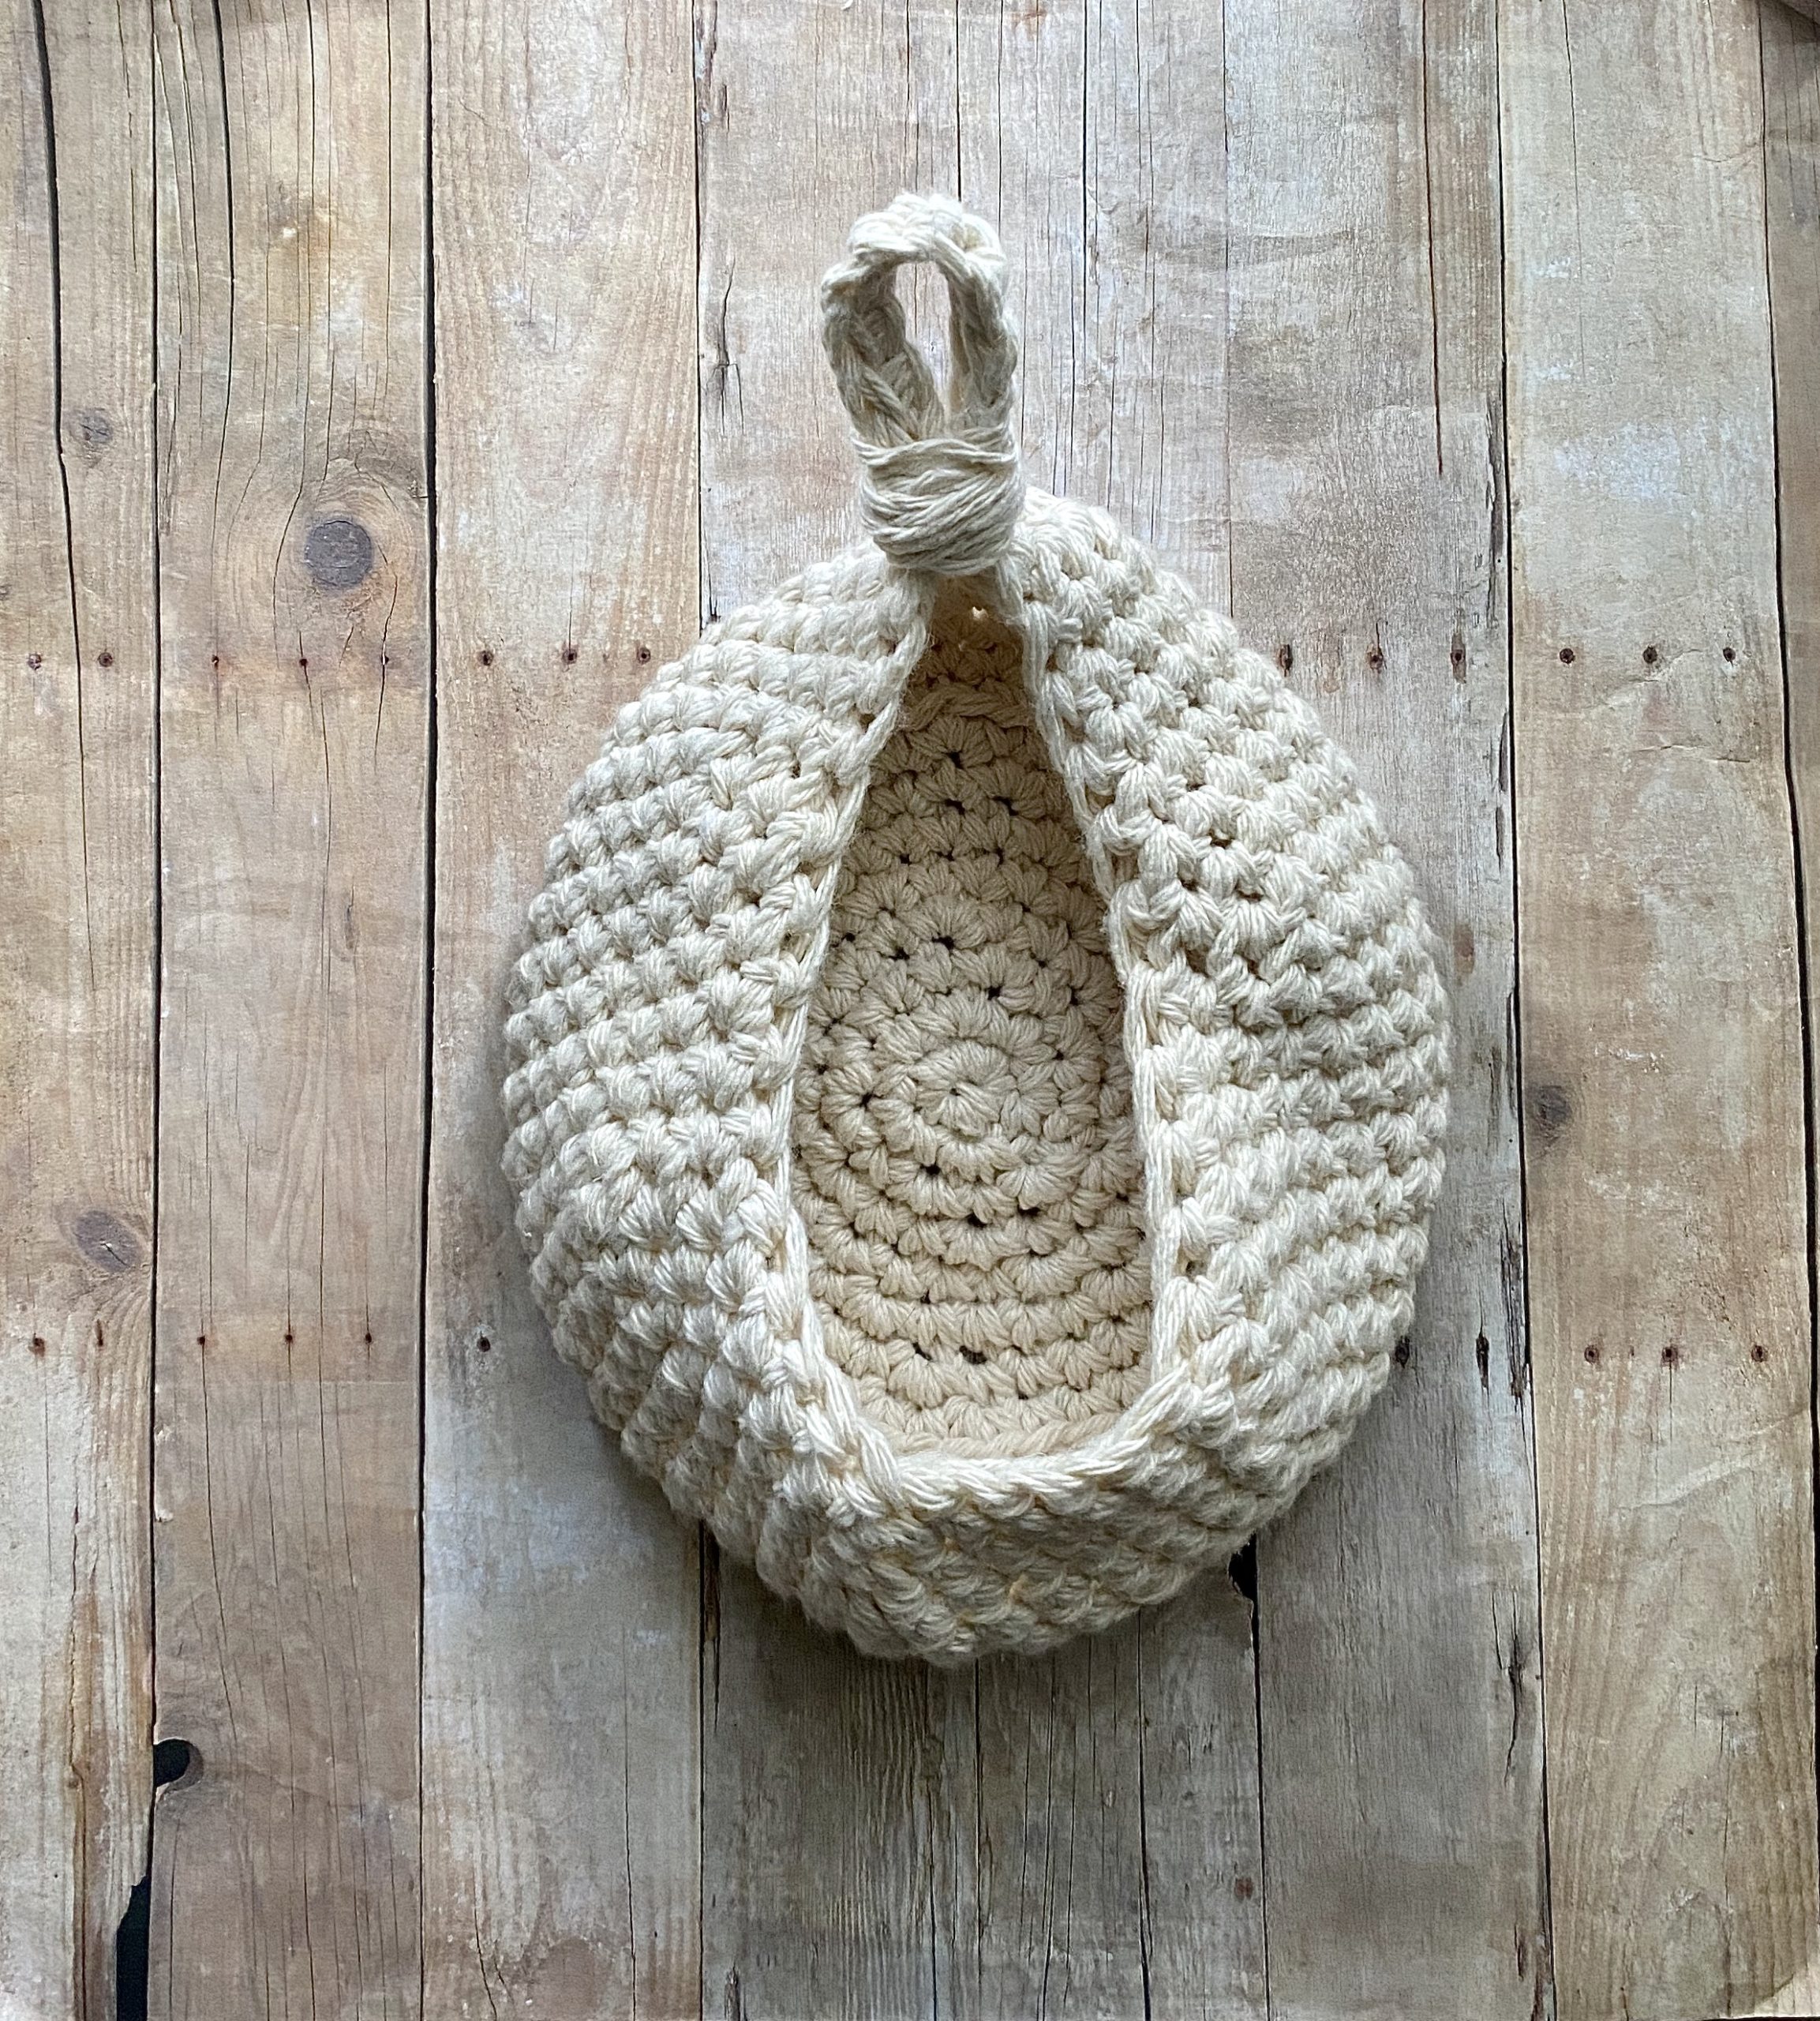
Finished Measurement:
Finished product measures approx. 7 inches tall and 6 inches wide (not including the loop).
Pattern:
*Note: For the entirety of the pattern you will be working with 2 strands at the same time.
MR. Ch 1. Place 6 sc in the ring. Sl st to the top of ch 1 (6).
Row 1: Ch 1. 2 sc in each stitch around (12).
Row 2: Ch 1. *1 sc in the next stitch. 2 sc in the next stitch. Repeat from * around. Sl st to the top of the chain 1 (18).
Row 3: Ch 1. *1 sc in the next 2 stitches. 2 sc in the next stitch. Repeat from * around. Sl st to the top of the chain 1 (24).
Row 4: Ch 1. *1 sc in the next 3 stitches. 2 sc in the next stitch. Repeat from * around. Sl st to the top of the chain 1 (30).
Row 5: Ch 1. *1 sc in the next 4 stitches. 2 sc in the next stitch. Repeat from * around. Sl st to the top of the chain 1 (36).
Row 6: Ch 1. *1 sc in the next 5 stitches. 2 sc in the next stitch. Repeat from * around. Sl st to the top of the chain 1 (42).
Row 7: Ch 1. *1 sc in the next 6 stitches. 2 sc in the next stitch. Repeat from * around. Sl st to the top of the chain 1 (48).
Row 8: Ch 1. Sc in the back loops only of each stitch around. Sl st to the top of the ch 1 (48).
Row 9-14: Ch 1. Sc in each stitch around. Sl st to the top of the ch 1 (48).
Row 15 (begin decreasing): Ch 1. *1 sc in the next 6 stitches. sc2tog in the next stitch. Repeat from * around. Sl st to the top of the chain 1 (42).
Row 16: Ch 1. *1 sc in the next 5 stitches. sc2tog in the next stitch. Repeat from * around. Sl st to the top of the chain 1 (36).
Row 17: Ch 1. *1 sc in the next 4 stitches. sc2tog in the next stitch. Repeat from * around. Sl st to the top of the chain 1 (30).
Row 18 (loop): Ch 10. Sl st back into the same stitch (10).
Row 19 (loop): Sc in each stitch around. Sl st back to the base (10).
Cut yarn and leave approximately 24” tail. Use the tail to wrap around the base of the loop. Weave in the ends with a yarn needle.
I hope you’ve enjoyed this pattern. Share your finished projects with me on Instagram and Facebook!
Happy Stitching!
Jess