
This post may contain affiliate links. As an affiliate member I may receive a commission at no extra cost to you.
It’s that time of year… FALL! The air is cool and crisp, everything is orange and brown, and there are pumpkins everywhere! Pumpkins area staple in any fall decor (I mean who doesn’t think of pumpkins when they think of fall?). They can be used to decorate for Halloween AND you can keep them up for Thanksgiving.
Lately the popular trend is everything rustic and farmhouse (I love this trend! I hope it sticks around!) This pumpkin pattern combines that rustic element with a pumpkin.
This pumpkin will spruce up any fall decor. It is customizable to size too!
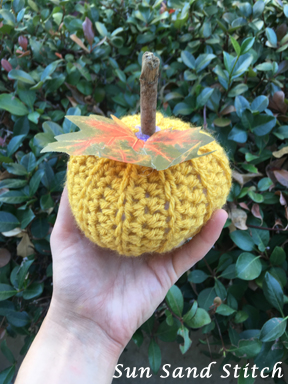
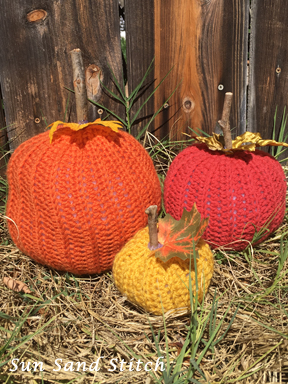
For the yellow pumpkin I used Vanna’s choice yarn in the color mustard.
I used Impeccable yarn in the color cherry for the medium pumpkin.
Finally I used Red Heart Super Saver in the color carrot for the large size pumpkin.
**If you would like to support my small business and the work that went in to this pattern consider purchasing the ad-free PDF on Ravelry. I appreciate all your support!
Materials
Worsted weight yarn (size #4) in various colors (approx. 73 yards for small, 190 yards for medium, and 260 yards for large.
Size J/ 6mm crochet hook
Yarn Needle
Poly fill stuffing
Leaves and twigs
Hot glue gun (to attach leaves and twigs)
Stitches Used
Ch- chain
Sp- Space
Hdc- half double crochet
Sl st- slip stitch
Gauge
4 inches = 14 stitches by 9 rows
Notes
Small pumpkin measures approx. 3 inches tall and 12 inches around.
Medium pumpkin measures approx. 5 inches tall and 19 inches around.
Large pumpkin measures approx. 7 inches tall and 23 inches around.
Pattern
Small Pumpkin:
Ch 15. Be sure to leave a long tail for weaving in later.
Row 1: Hdc in the second loop from the hook and all the way across (14).
Row 2: Ch 1 and turn. Hdc in the back loops only in each st across (14).
Row 3: Ch 1 and turn. Hdc in each st across (14).
Row 4: Ch 1 and turn. Hdc in the back loops only in each st across (14).
Repeat rows 3-4 9 more times.
At the end of the last row cut working yarn from the ball and leave a long tail for sewing.
Medium Pumpkin:
Ch 25. Be sure to leave a long tail for weaving in later.
Row 1: Hdc in the second loop from the hook and all the way across (24).
Row 2: Ch 1 and turn. Hdc in the back loops only in each st across (24).
Row 3: Ch 1 and turn. Hdc in each st across (24).
Row 4: Ch 1 and turn. Hdc in the back loops only in each st across (24).
Repeat rows 3-4 13 more times.
At the end of the last row cut working yarn from the ball and leave a long tail for sewing.
Large Pumpkin:
Ch 35. Be sure to leave a long tail for weaving in later.
Row 1: Hdc in the second loop from the hook and all the way across (34).
Row 2: Ch 1 and turn. Hdc in the back loops only in each st across (34).
Row 3: Ch 1 and turn. Hdc in each st across (34).
Row 4: Ch 1 and turn. Hdc in the back loops only in each st across (34).
Repeat rows 3-4 19 more times.
At the end of the last row cut working yarn from the ball and leave a long tail for sewing.
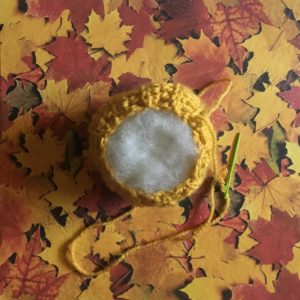
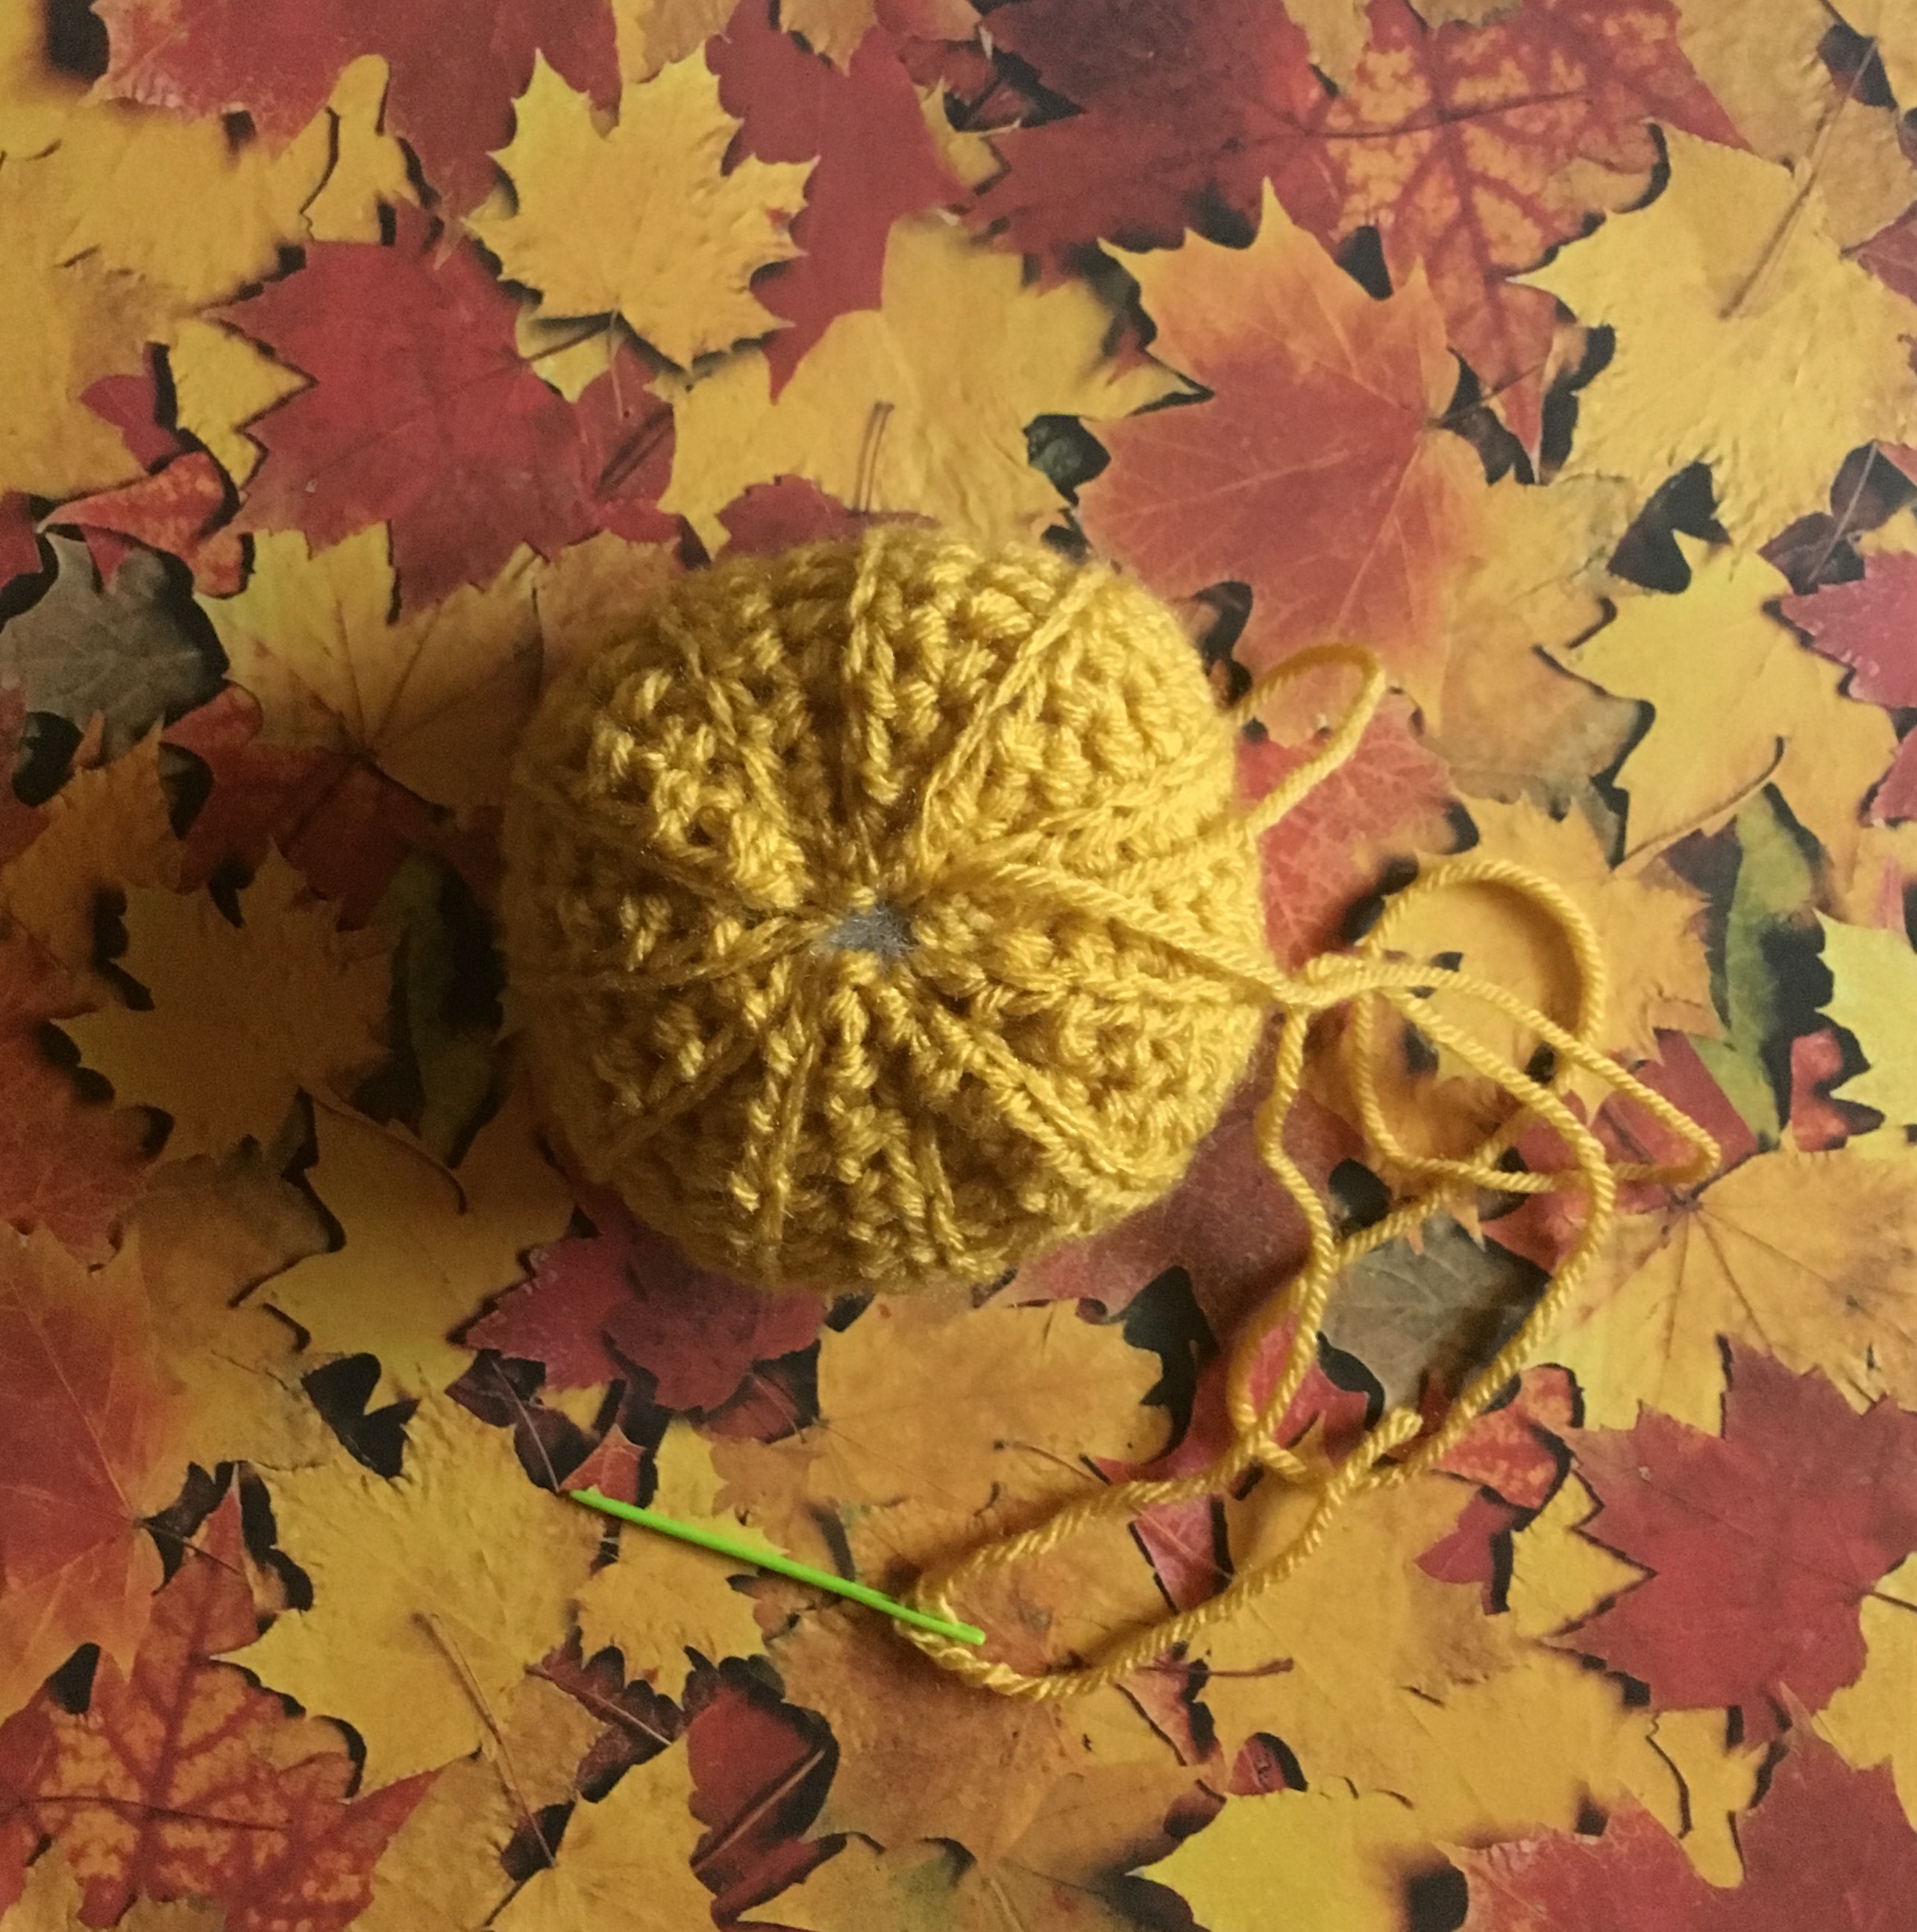
Sewing
Using a yarn needle, sew back and forth on one side of the rectangle. Pull the yarn to scrunch together the pumpkin. Repeat the same on the other side. Sew up the side seam to close the pumpkin. Fill with poly fill before closing up completely. See images below.
Finishing up
To finish this pumpkin you can add a twig or leaves to give it more of a rustic feel. I love to use natural elements, but you can substitute with finds from the craft store 😉 If you’re looking for some elements you can get from the craft store check out some of my favorites here.
That’s it! You’re all done!
I hope you enjoyed this pattern! Feel free to sell items made from this pattern, but I do ask you reference me as the creator.
Share your projects with me online! You can find me on Instagram, Facebook, Pinterest, Etsy and here on my blog.
Happy Stitching!
-Jessica