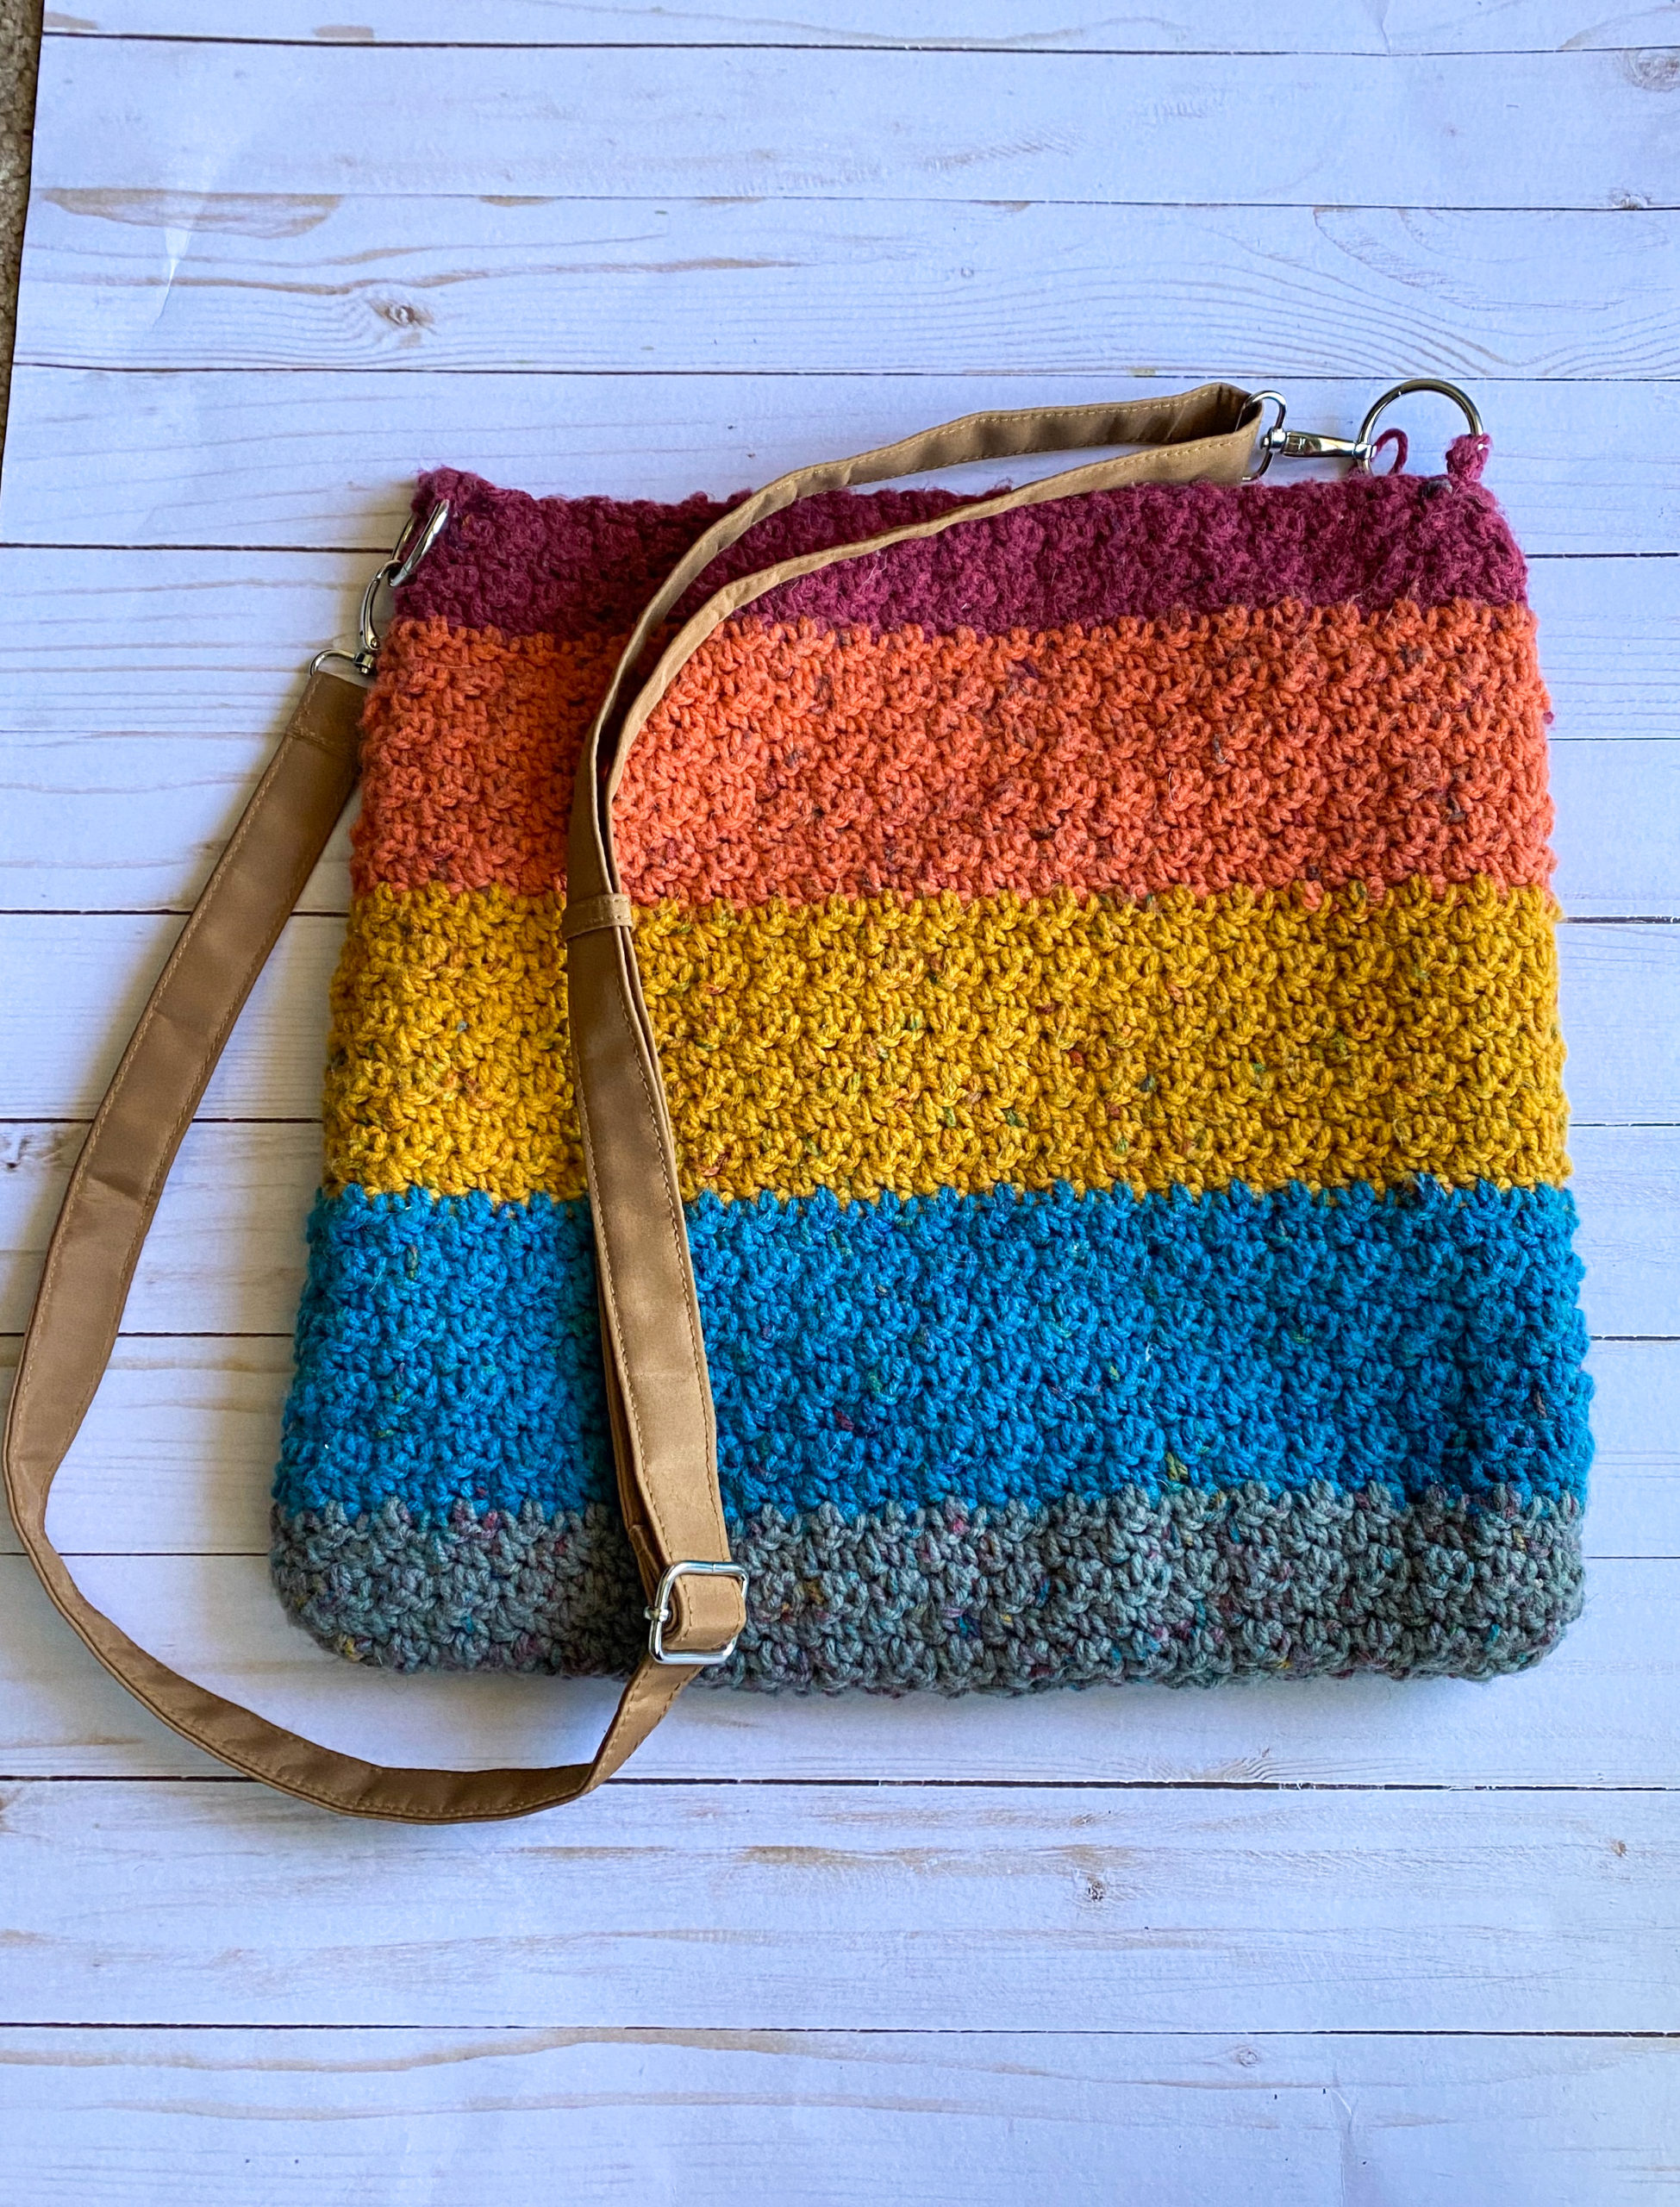
Today I’m bag with another bag pattern! If you’ve been following me for a bit you know I love bags. I have bags of many sizes and styles for various occasions. My latest pattern is the perfect tote bag or book bag. This bag features a sewn liner that is reinforced with interfacing that makes it super durable. I plan on using this bag to carry notebooks and school supplies so I won’t have to carry a backpack on my bag. Another bonus of this bag is that it is made with an adjustable strap. You could wear it over one shoulder or as a cross-body style. Both ways have the benefit of being easier on the back.
While designing this pattern I had all the fall vibes. Fall is my favorite time of year. I love when the weather cools down and I can wear all my sweaters. I live in southern California so we pretty much have a summer all year round. Fall is the time where it begins to cool enough that I can comfortably wear a sweater and our temperature drops below 70-80 degrees! I loved this cake when I saw it in my local Michaels store and I just knew it would be perfect for a fall pattern. Paired with a faux leather strap and a leaf print liner this bag just screams fall to me. A bonus is this bag only takes 1 cake to make (see what I did there with the pattern name? Haha.)

This pattern is part of E’Claire Makery’s September blog hop that features a dozen other designers sharing their garment and accessory patterns. You can check out the hop here. Each day a new pattern will be shared by that day’s designer. The pattern will also be free as a pdf for that day only! Also, if you haven’t checked out E’Claire Makery’s blog you’re missing out! Claire has become a good friend through this wonderful maker community and she designs such cute patterns.
If you’d like the pdf of this pattern you can get it here on Ravelry. For one day only you can get this pattern download for free on Ravelry. Use the code FALL. This code is only valid for September 27, 2019 and will expire at midnight PST.
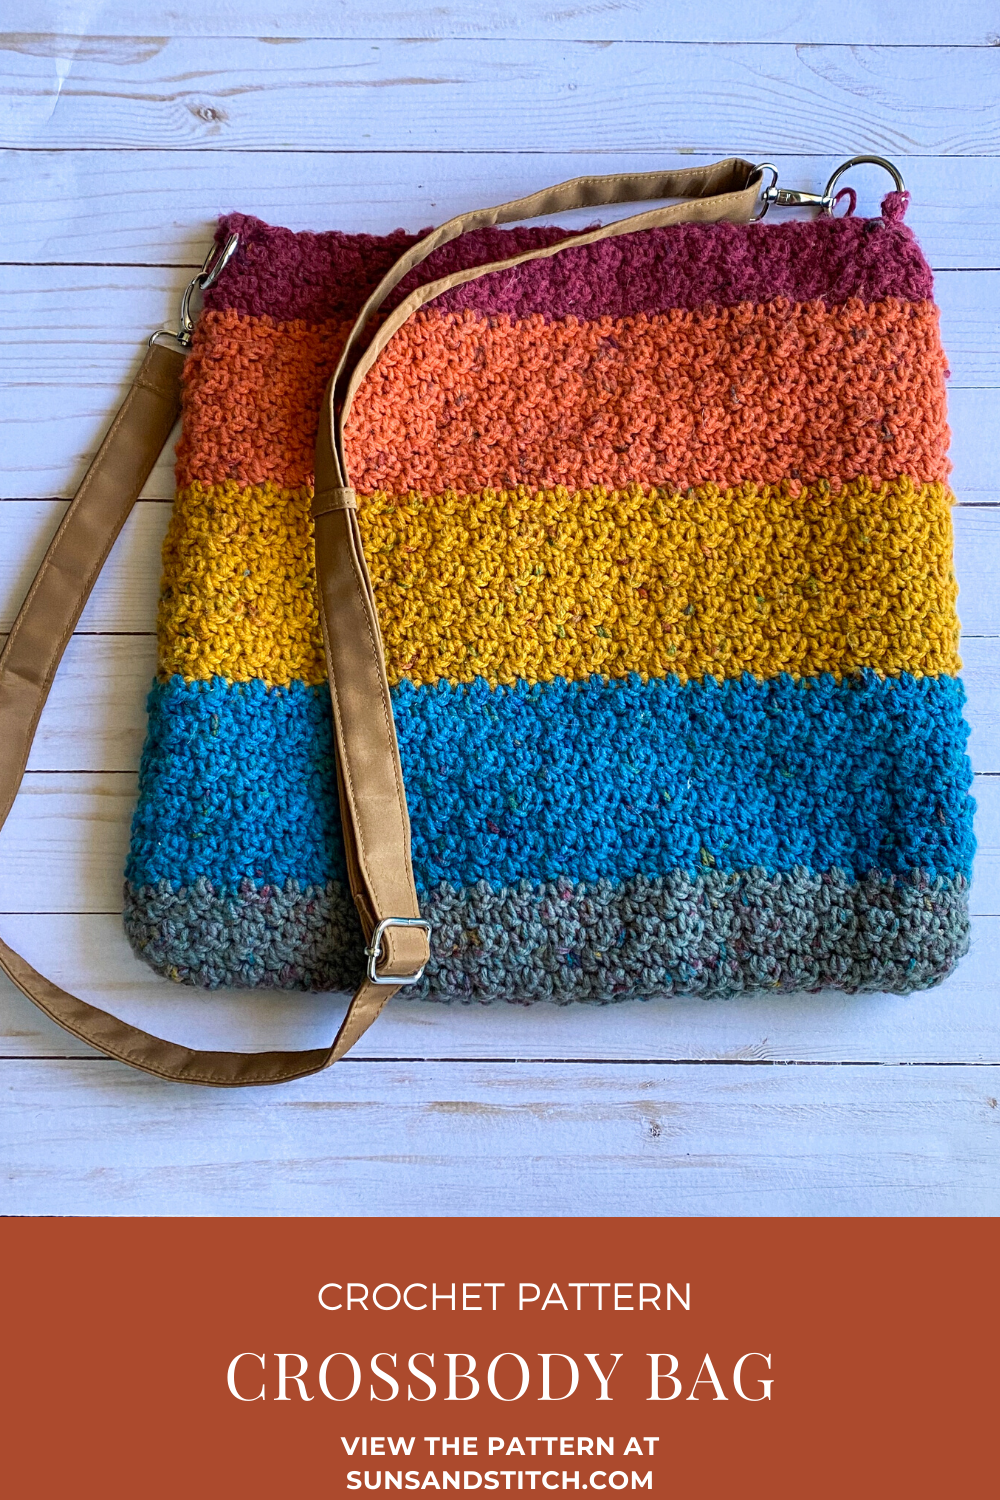
Click on the image below to Pin this pattern for later!
- One “cake” of yarn. I used caron big cakes in the color Toffee Brickle
- Crochet hook size H/ 5.00mm
- Yarn needle
- Sewing needle (head needs to be big enough to fit yarn through it)
- 2 cotton fabric squares (measure 18 inches x 21 inches). I bought two fabric quarter (brand) from Joann’s.
- Fusible interfacing (I used this one)
- Scissors
- Iron
- Faux leather strap (I got this one from Joann’s)
- 2 purse rings (I got these from Joann’s)
Techniques used:
- Changing colors in crochet
- Sewing a liner onto a crocheted piece
Notes:
This bag is made by creating 2 crochet squares and sewing them together (leaving an opening for the top of the bag). Then a liner is made by ironing fabric to a stiff batting and then sewing that piece into the bag. Note that the liner is only sewed to the top opening of the bag using yarn that corresponds to the fabric color. The rings are sewn on separately as part of the liner sewing process.
For this project I controlled the colors of this cake and I separated the cake into individual balls of each color. I used one cake and changed colors every 10 rows.
Pattern:
(Make 2 squares)
Ch 45
Row 1: Hdc in the second chain from hook and all the way across (44).
Row 2: Ch 1 and turn work. Hdc in each stitch across (44).
Row 3-44: Repeat row 2.
Sewing of bag:
Lay the two squares together with the wrong sides facing outward. Sew the two squares together along 3 sides, leaving one side unsewn (this will be the opening of the bag). This process of sewing will use a yarn needle and some yarn. Flip the bag inside-out so now the right side is on the outside. Weave in all tails with a yarn needle.
Creating the liner:
Cut two pieces of fabric to the size of your square. Next, cut two pieces of the fusible interfacing the same size as the fabric squares. Next, iron the interfacing to the wrong side of both fabric squares according to the interfacing instructions.
Next, place the two ironed squares together with the right sides facing outward (this will be the fabric side). Using a sewing needle and thread, sew around 3 of the sides (leaving one side unsewn for the opening). Flip the sewn piece inside-out so now the fabric is on the inside.


Assembling the bag:
Before assembling the bag, prepare the purse rings. To do this, use a crochet hook and yarn to place 10 single crochet stitches around the ring. Cut the yarn from the ball and leave a bit of a tail for weaving in. Repeat this for both of the rings. See image below for final product.
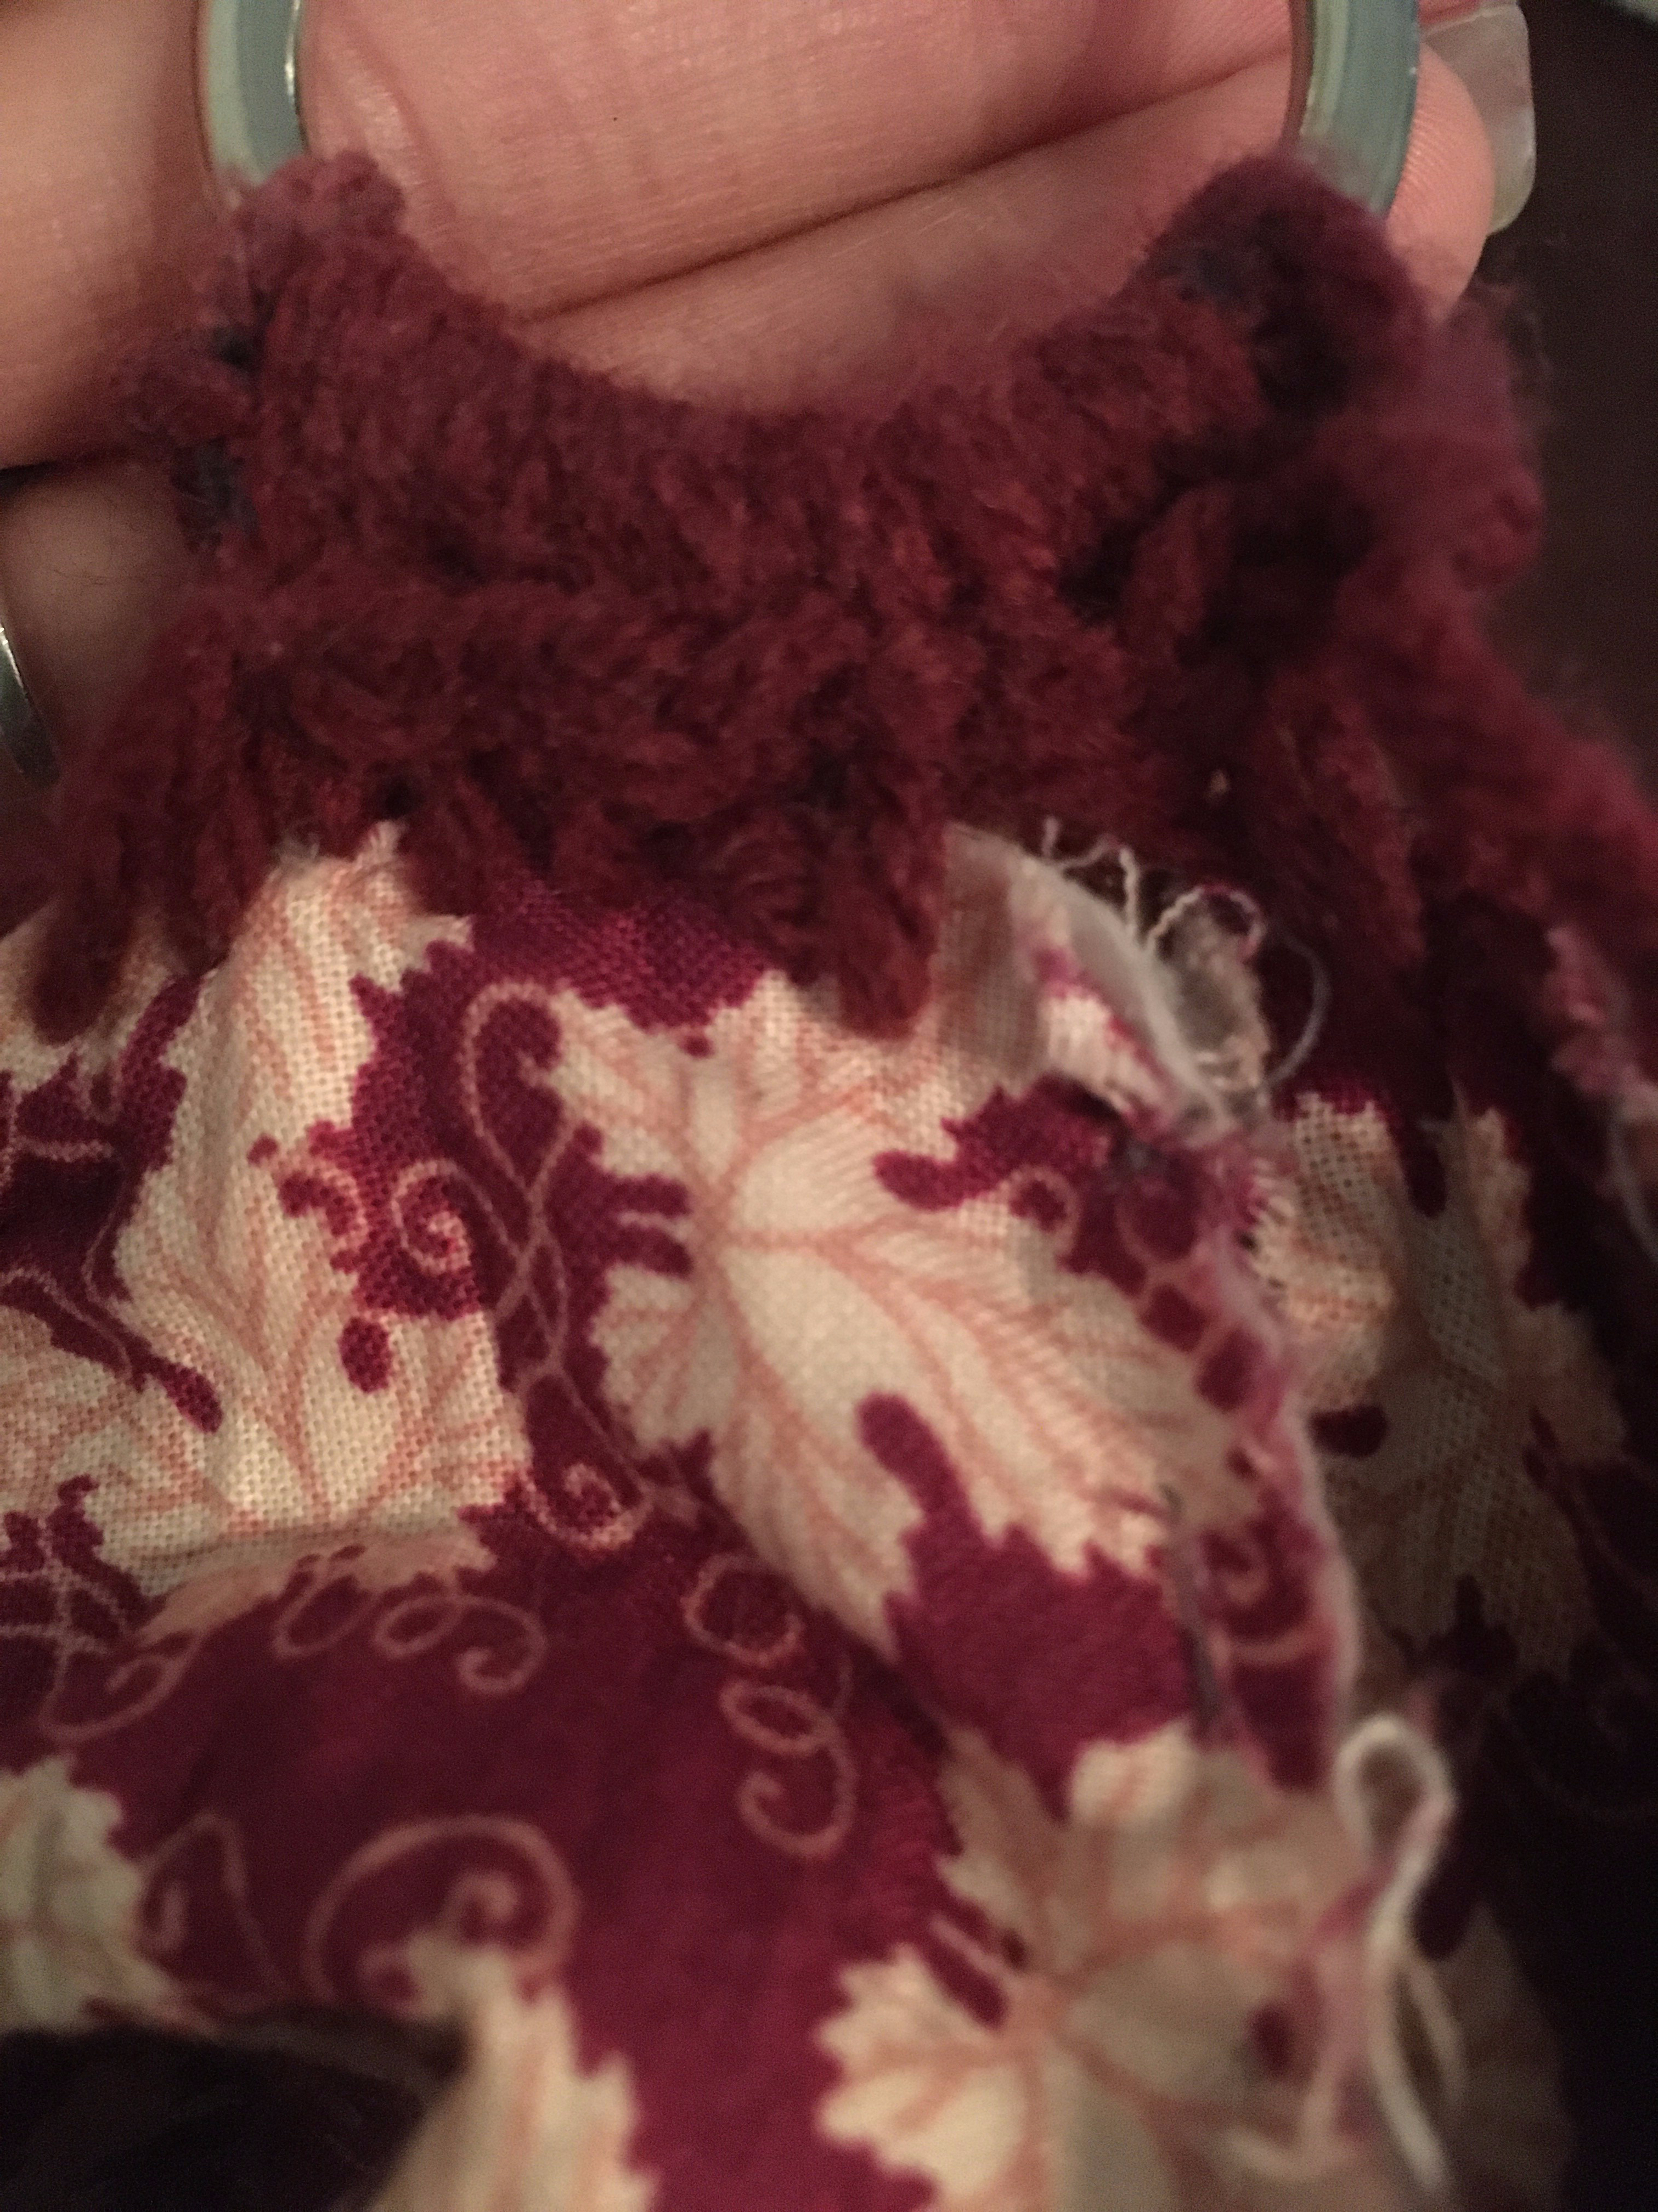
Place the sewn liner inside the bag. Next, use a sewing needle and yarn to sew the liner to the bag. Start just to the side of the corner of the bag. Insert the sewing needle through the liner and then through the next corresponding stitch. Repeat this until you reach the corner. When you reach the corner, line up the crocheted purse ring in line with the stitches of the bag. When you sew through the liner, also sew through a stitch on the purse ring and through the next stitch of the bag. This will make it so the purse rings are secured to the bag. See images below.


All that’s left is just to attach your purse strap to the rings. Now you’ve got a finished bag!
I hope you’ve enjoyed this pattern. Feel free to sell items made from this pattern. I do ask that you reference me as the creator. Be sure to share your finished projects with me on social media! Also, don’t forget to check out the other patterns in E’Claire Makery’s September Blog Hop.
P.S. I just had to share how I discovered how durable this bag is. I was able to fit one of my cats comfortably inside haha!
Happy Stitching,
Jess


Fall Fashion September Crochet Blog Hop | E'Claire Makery
[…] Day 6: Piece of Cake Crossbody Bag by Sun Sand Stitch […]