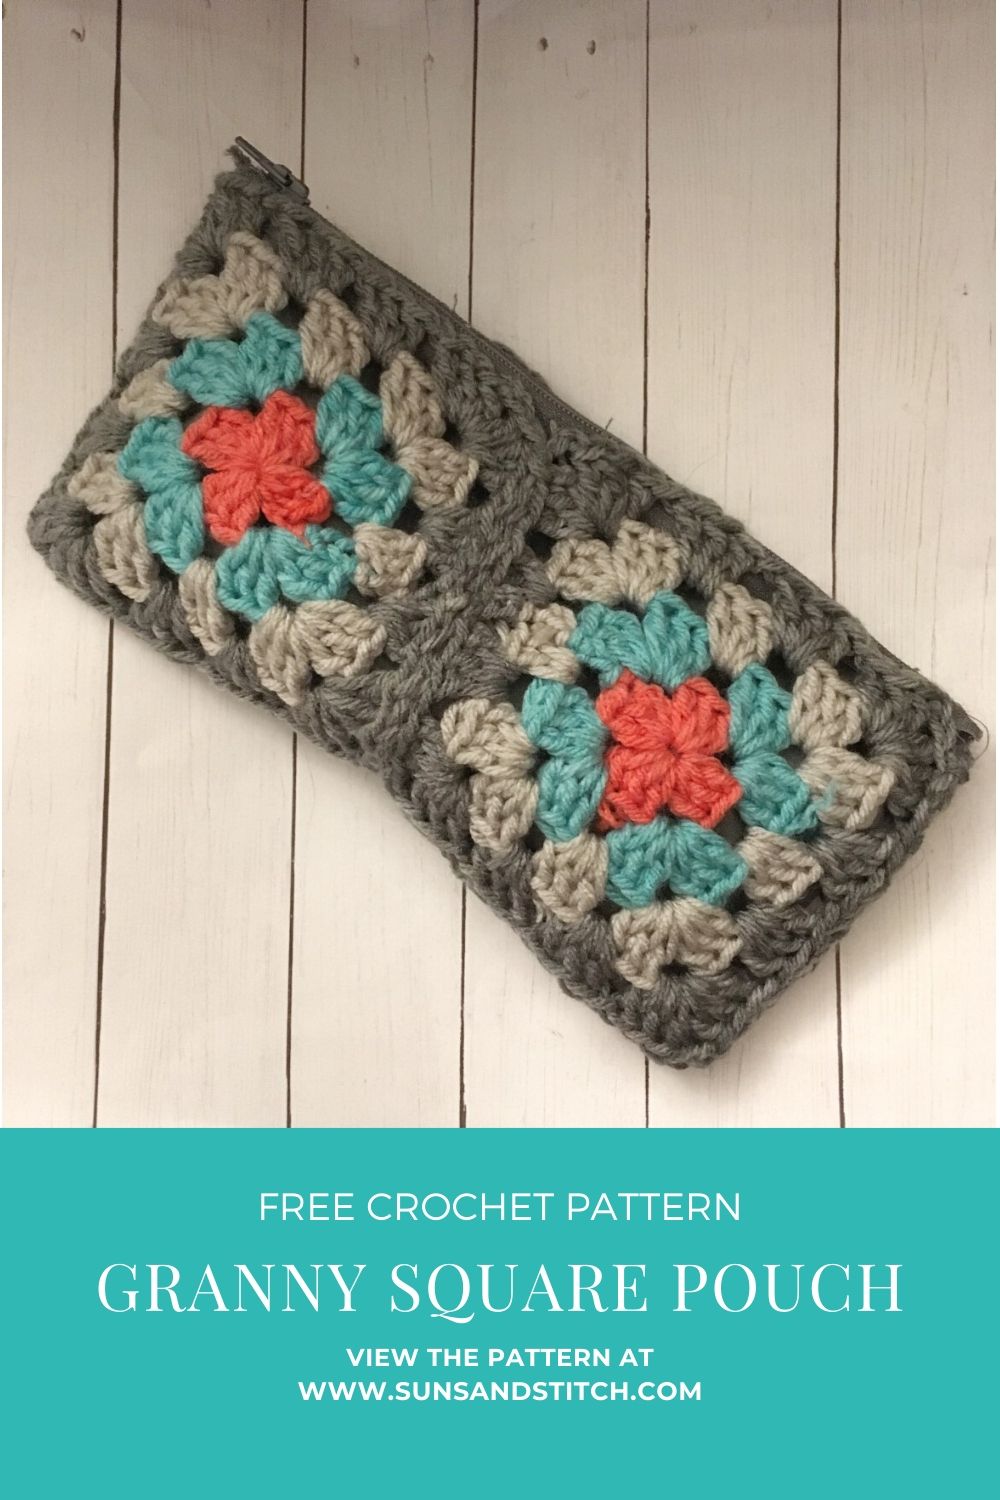
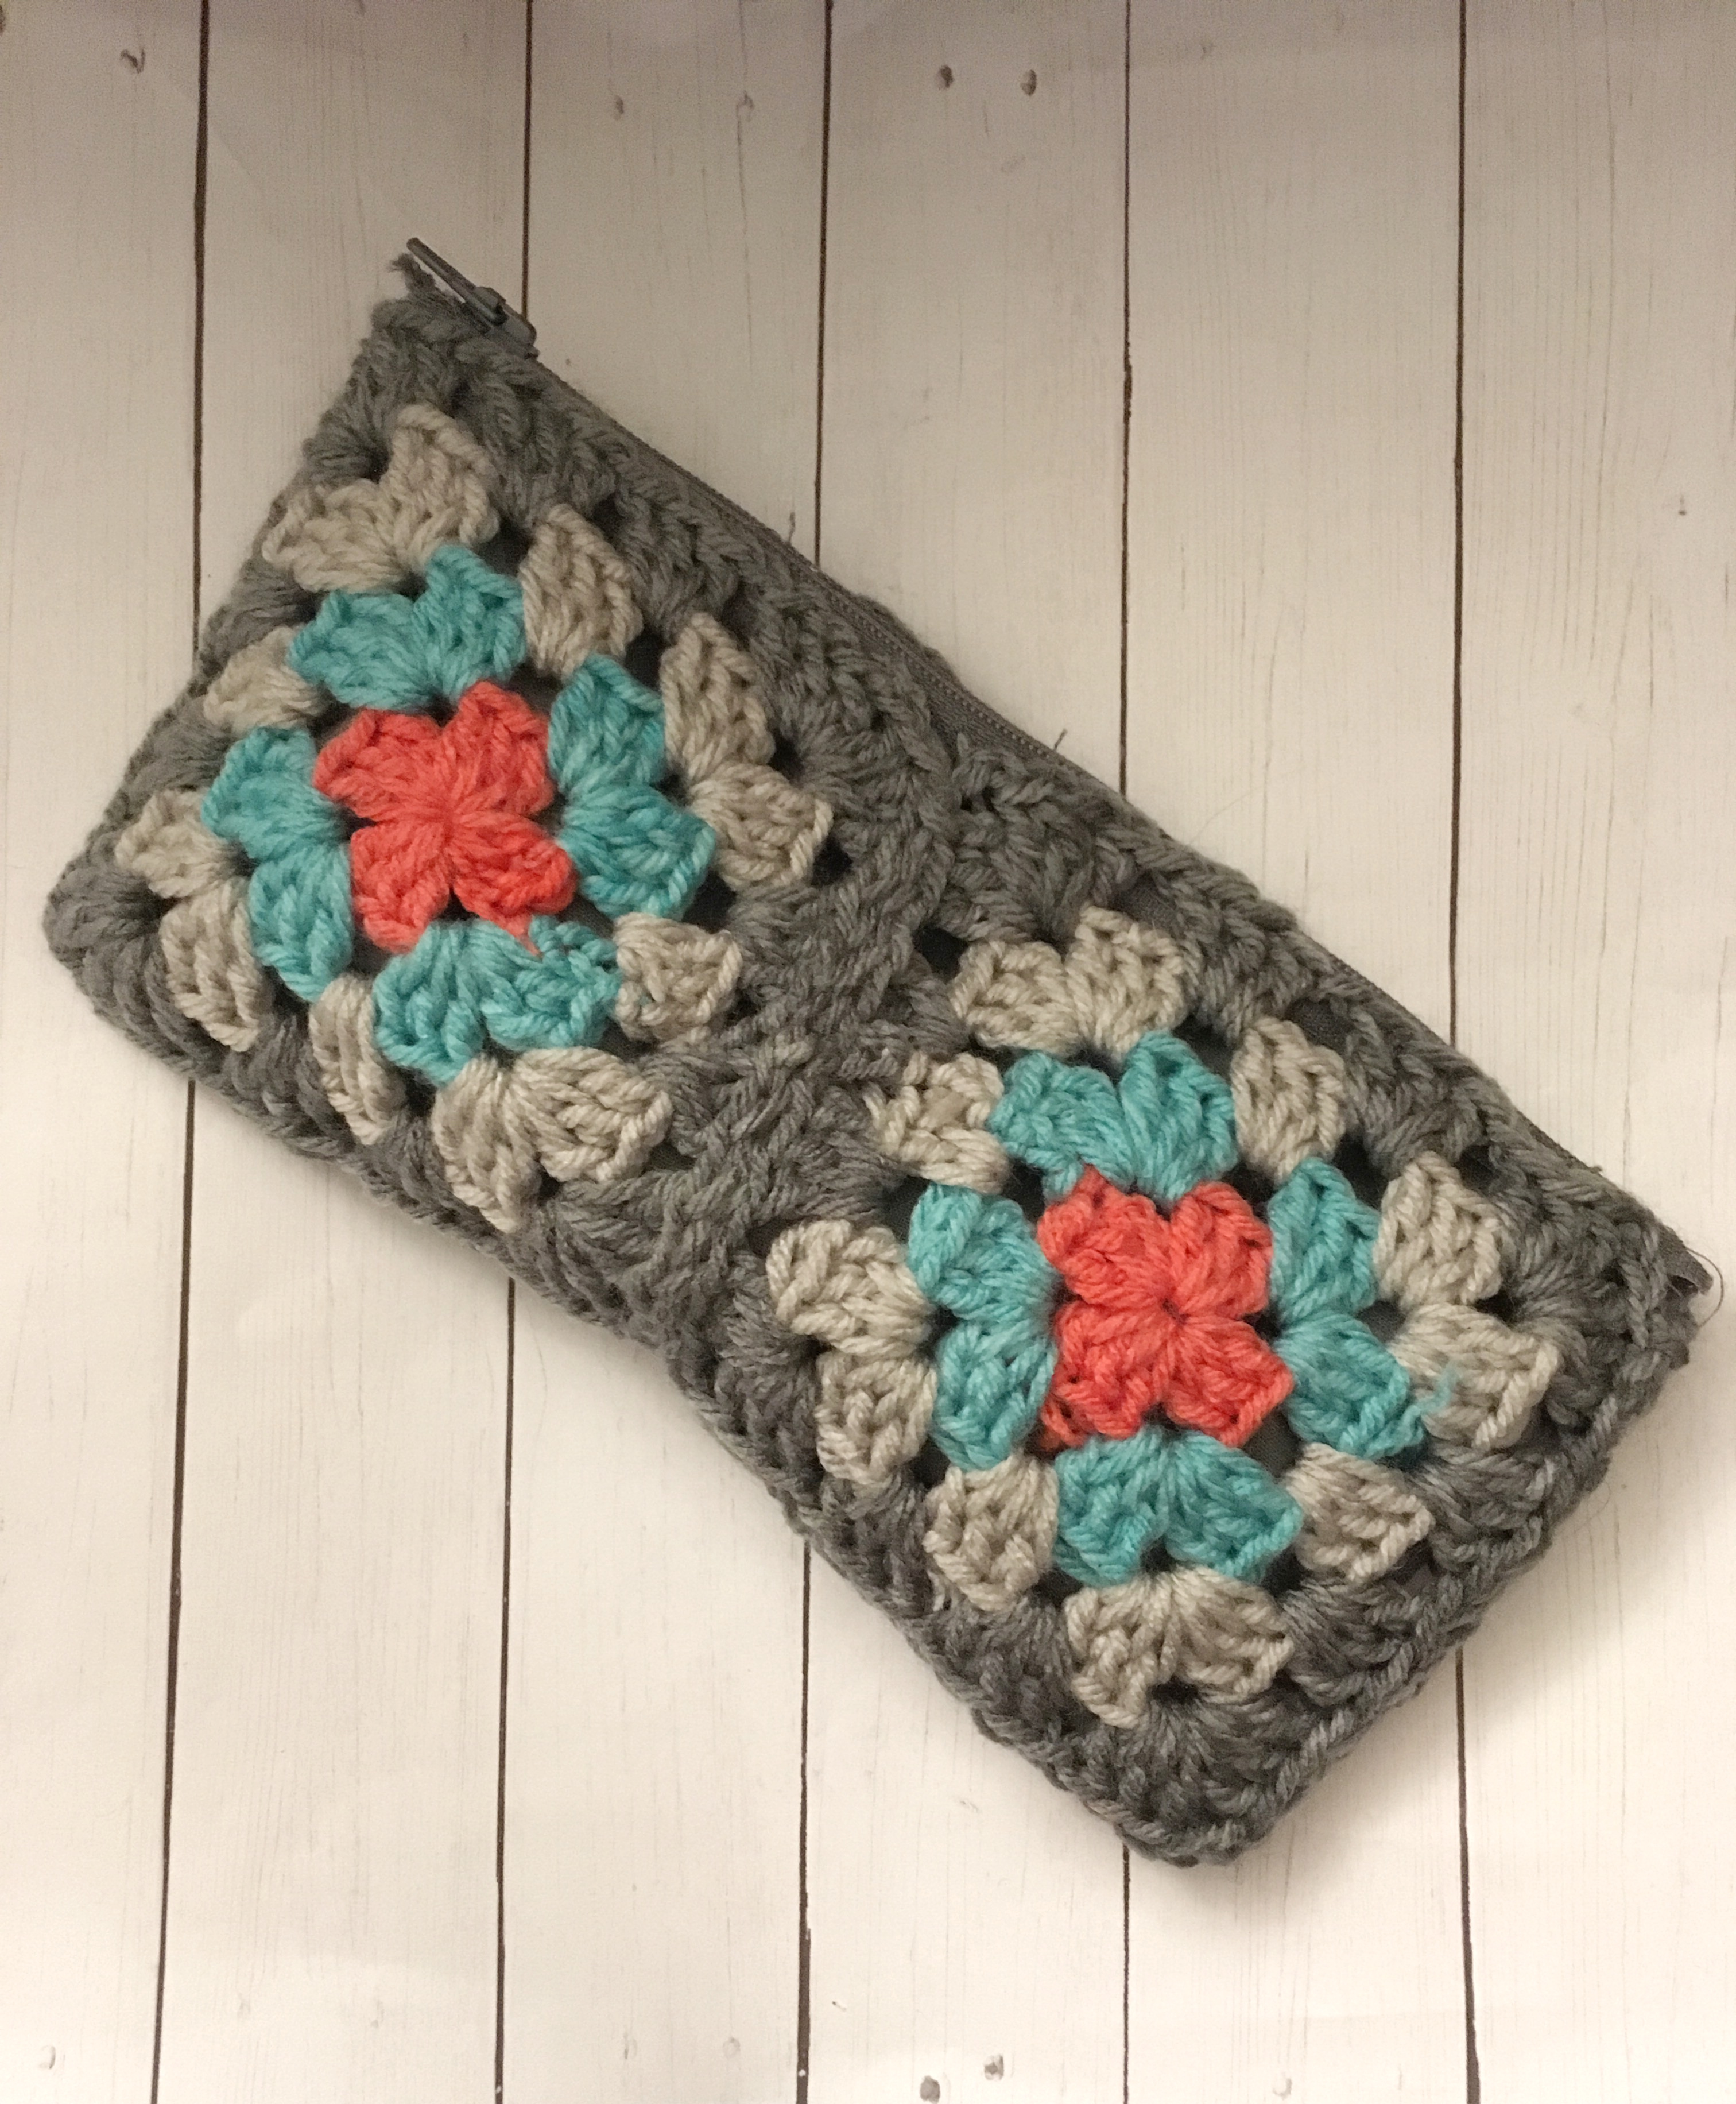
I’m so excited to share with you the latest granny square pattern I’ve made! Introducing the granny square pouch! This pattern is apart of the August 2019 Back-to-School blog hop hosted by my friend Claire of E’Claire Makery.
This pouch would be the perfect pencil pouch for kids big and small. I will definitely be using this pouch as my pencil pouch when I head back to school next week! You could even use this pouch for a crochet hook or sewing notions pouch.
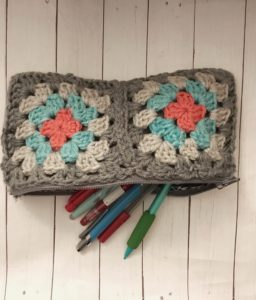
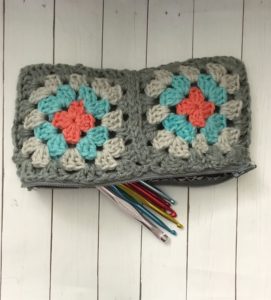
This pouch is made from 4 granny squares and includes a sewed lining and zipper! In the following pattern I have included photos of the whole process!
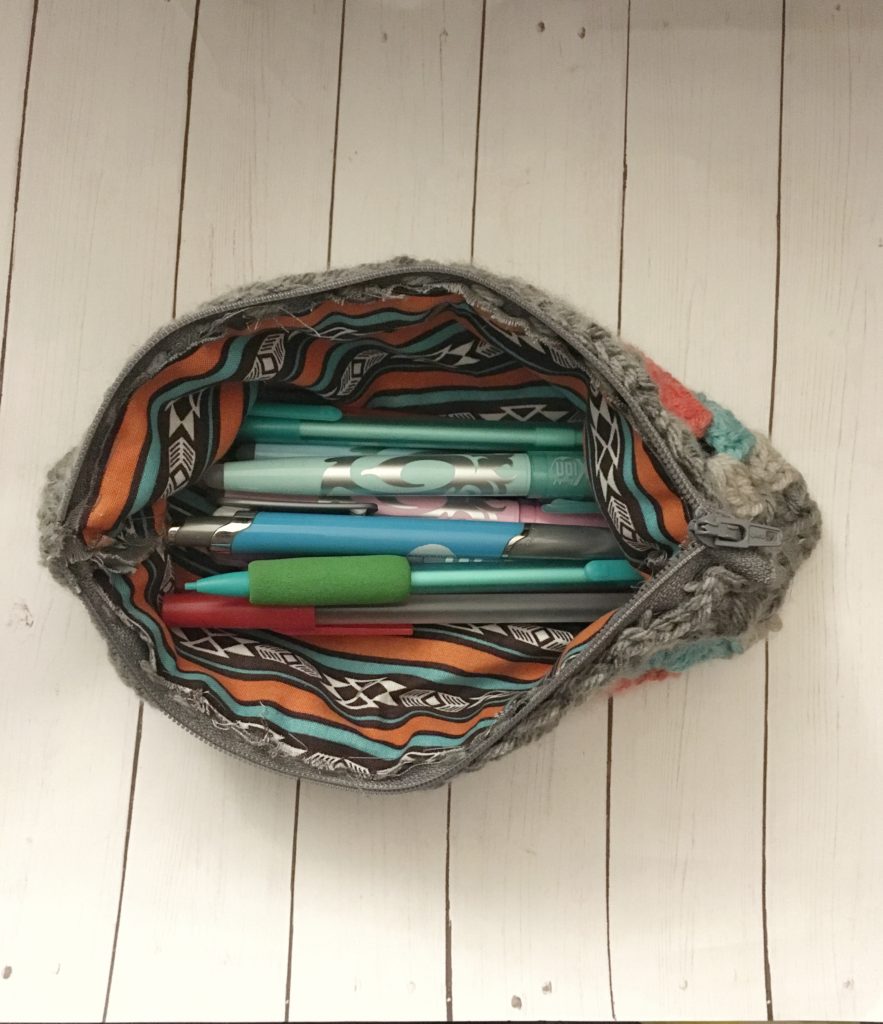
For this pouch I used a sugar wheel from Hobby Lobby and divided it into 4 colors. I used one color for each round to make the granny square. You can check out the yarn I used here. I loved using a cake like this because the colors were already paired together so well! Sometimes I have trouble with pairing colors together for a multi-colored project, but this pouch took care of that for me.
Pin this pattern for later!
You can also get the ad-free PDF download here on Etsy or Ravelry.
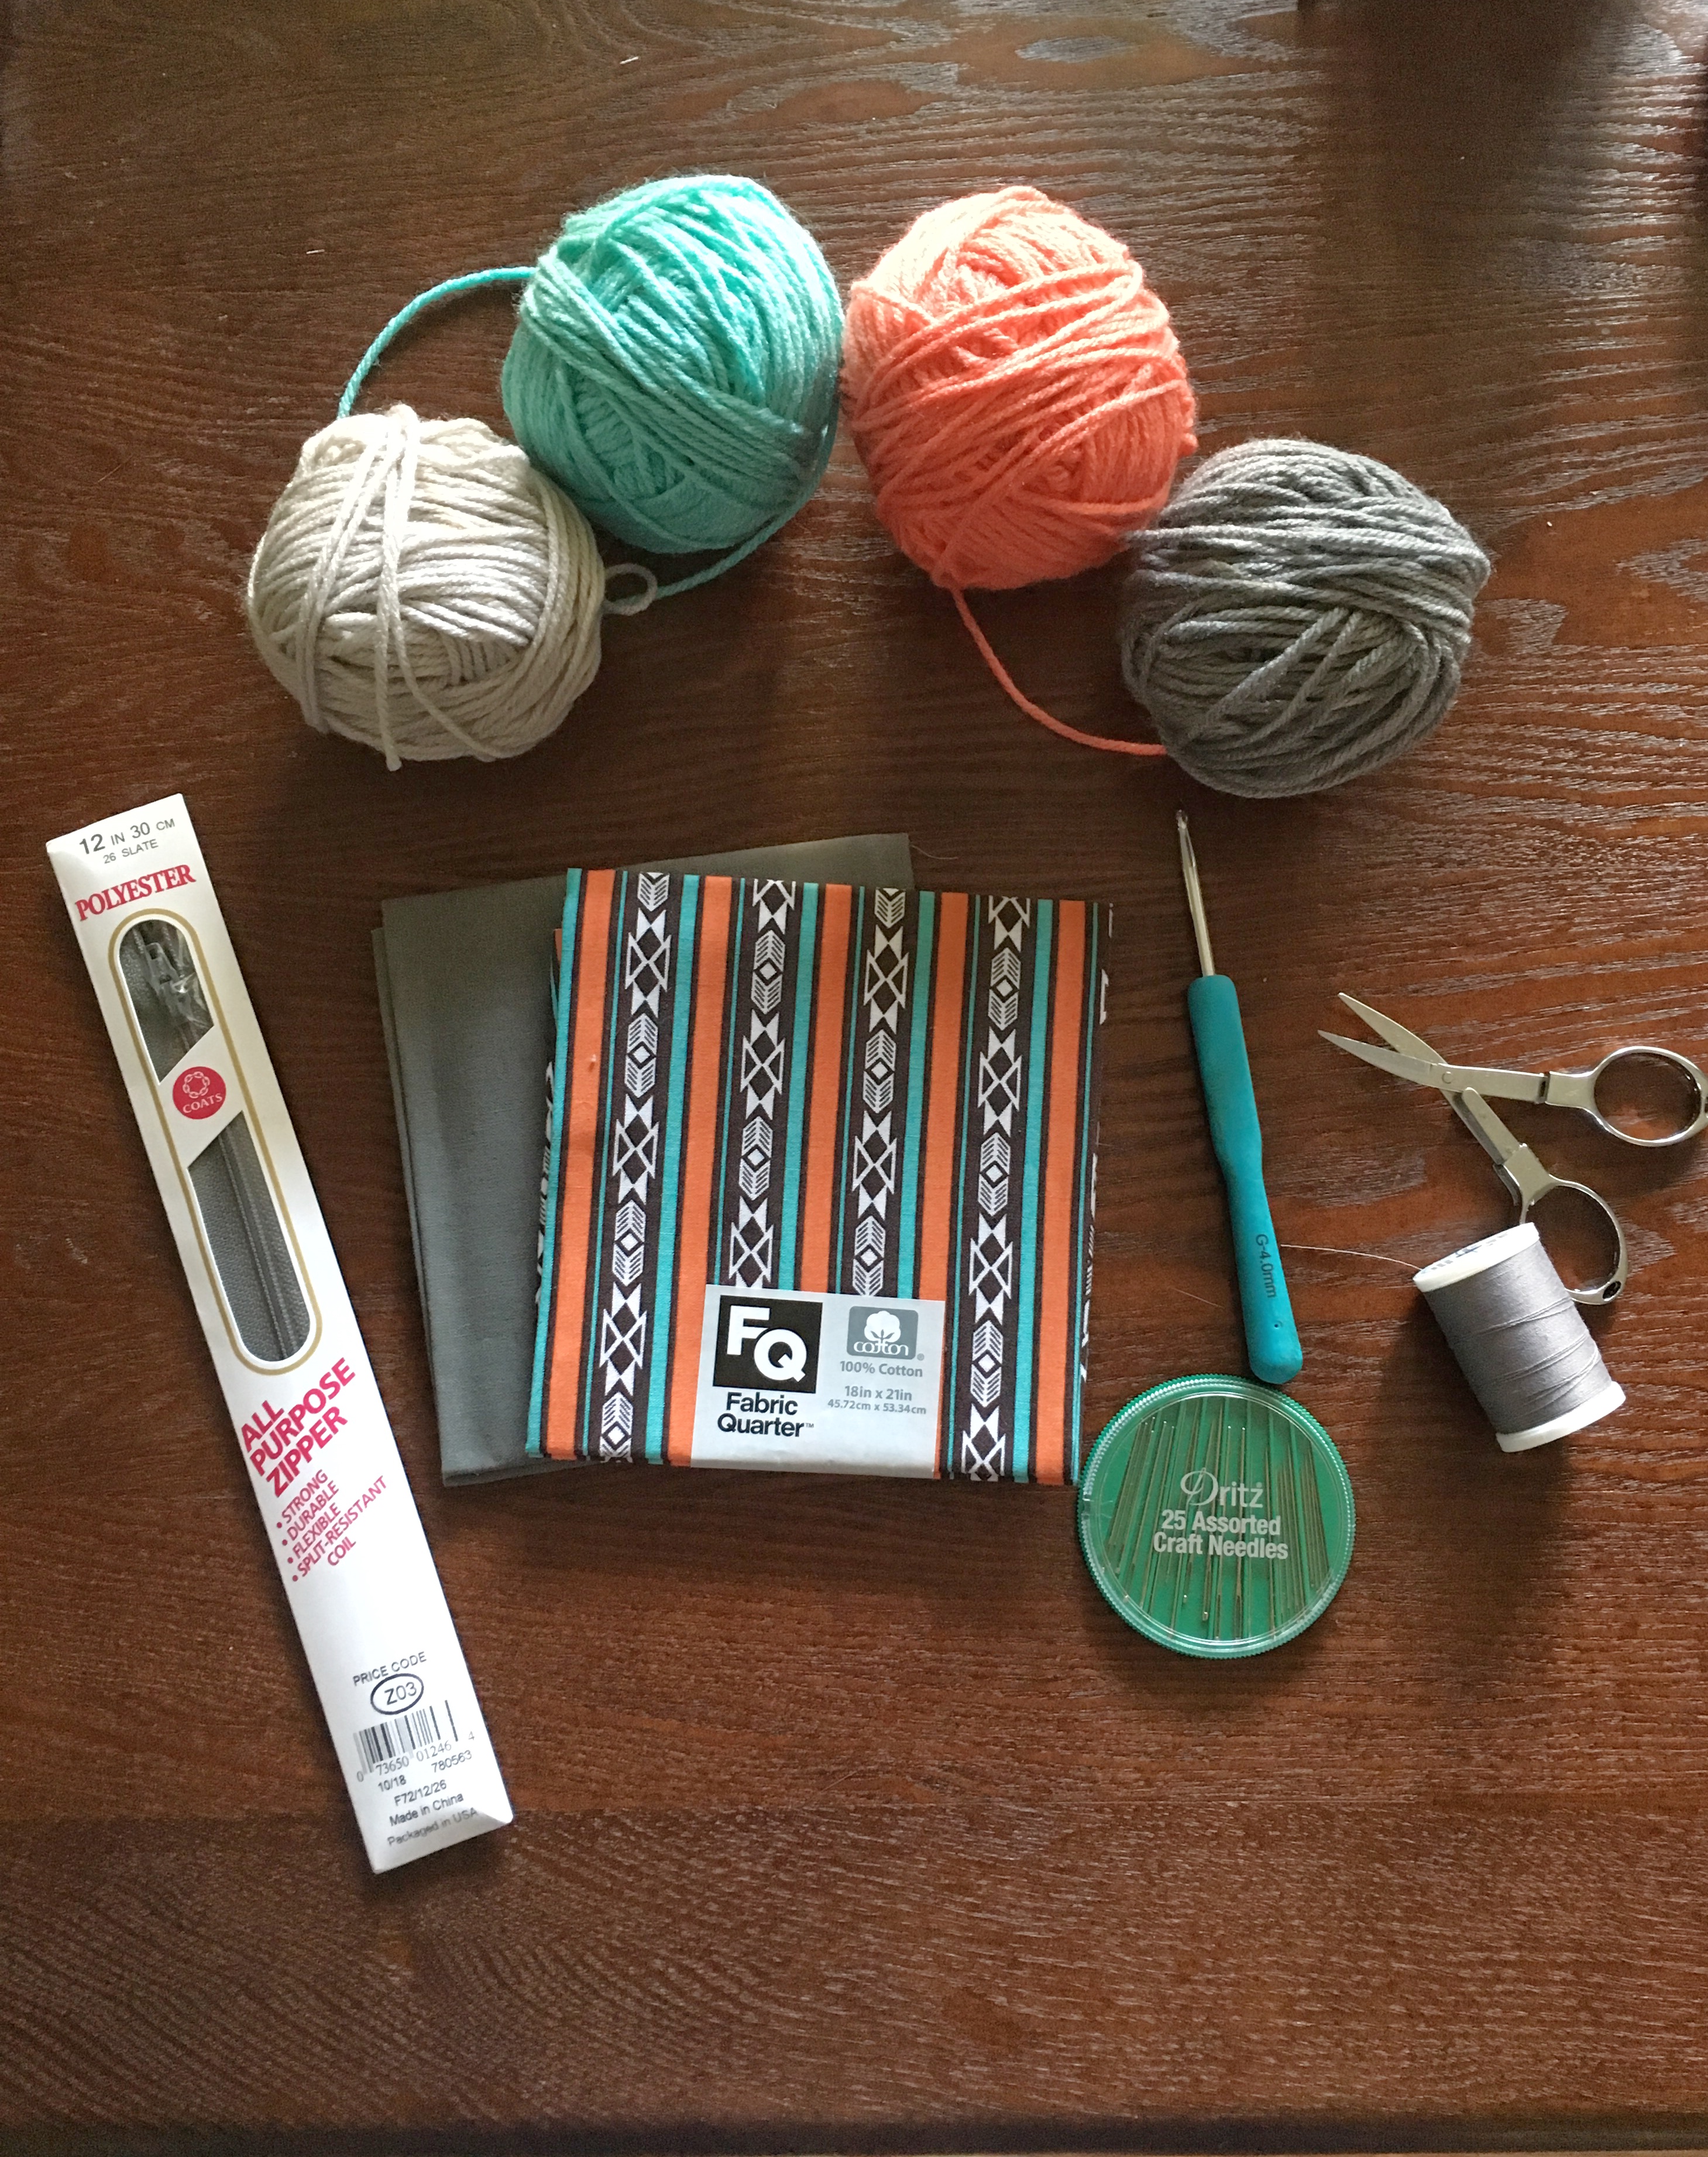
Materials:
– 1 yarn cake (I used Hobby Lobby Sugarwheel) or approx. 95 yards of worsted weight size #4 yarn
– Size G/ 4 mm crochet hook (or hook to obtain gauge)
– Sewing needle
– Thread (you will want thread that matches your zipper and outer color of granny square)
– Zipper (I used a 12 inch zipper and trimmed it to size)
– 2 quilting squares (I used one solid color to blend and one print for the inside)
– Scissors
– Yarn needle
Pattern Notes:
– This pattern is written in US terms
– Chains at beginning of row does not count as a stitch
– Pattern is worked in the round
– Numbers in parentheses at end of each round indicate number of stitches for that round
– Instructions between the brackets [ ] will be done in the same stitch
– For the liner, two pieces of fabric will be sewn back-to-back and attached to the inside of the pouch
– Change colors at the end of each row for rows 1-4
Stitches:
Ch = Chain
Dc = double crochet
MR = Magic Ring
Sp = space
Sl st = slip stitch
Gauge:
4 inches = 4 rows
Finished Measurement:
Finished product measures approx. 4 inches tall and 8.5 inches wide.
Pattern:
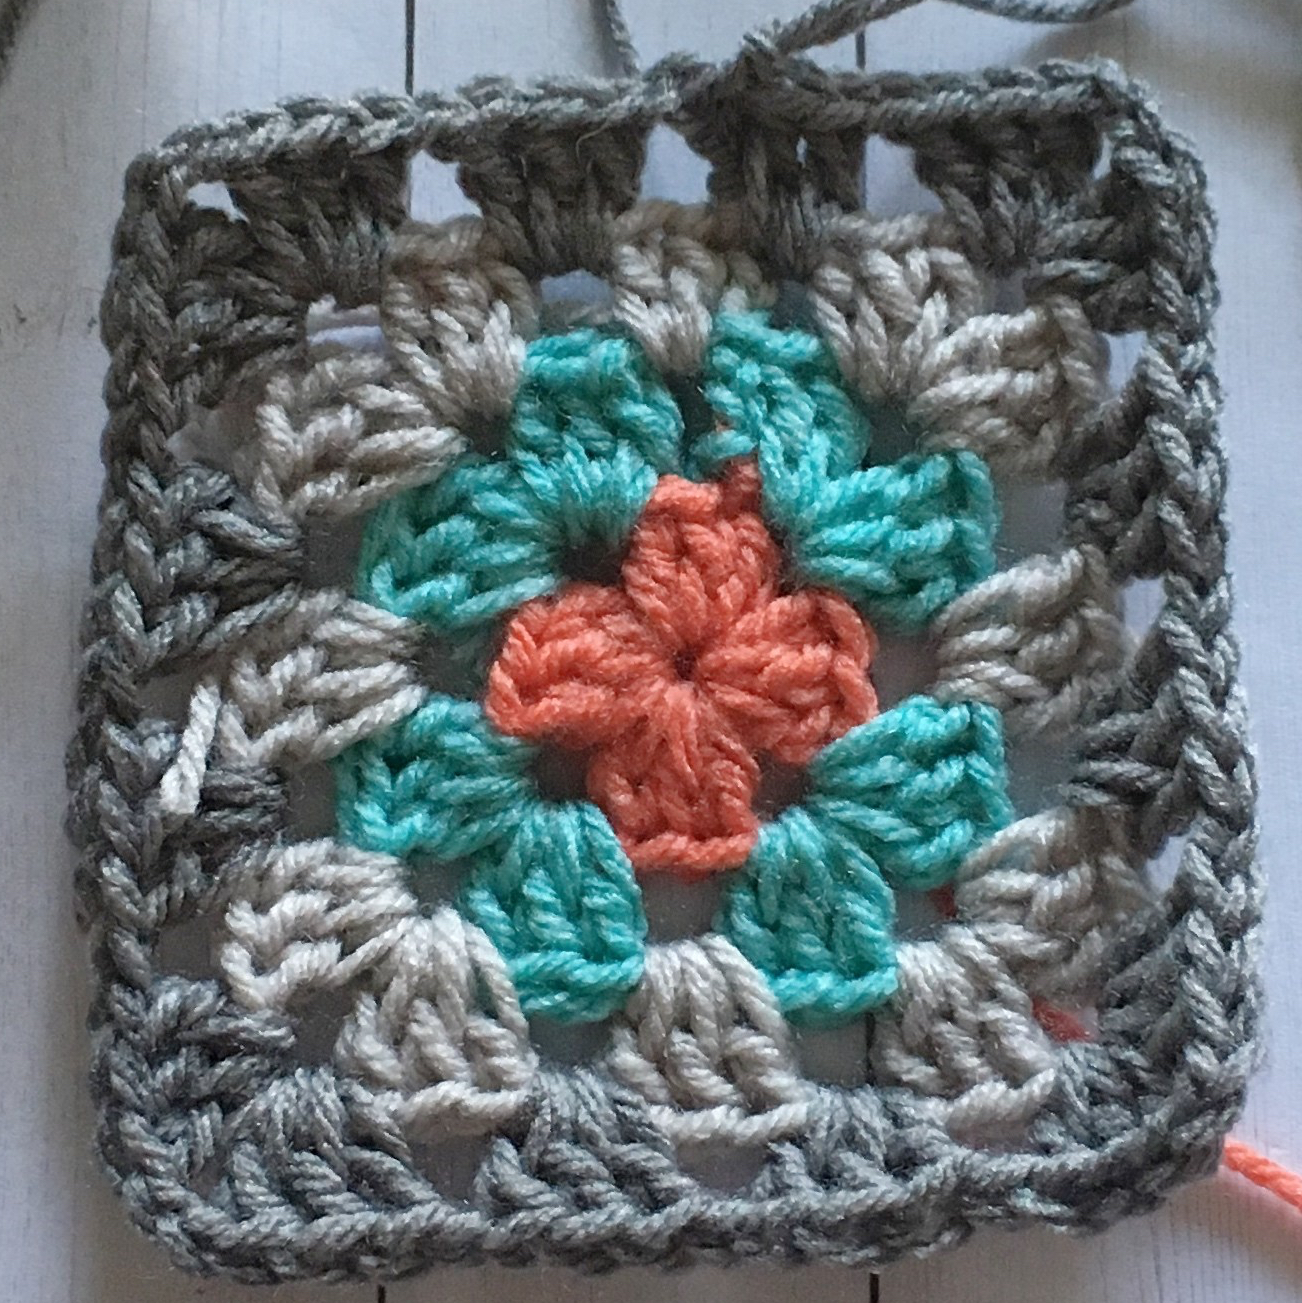
For the granny square (make 4). Change colors at the end of each row.
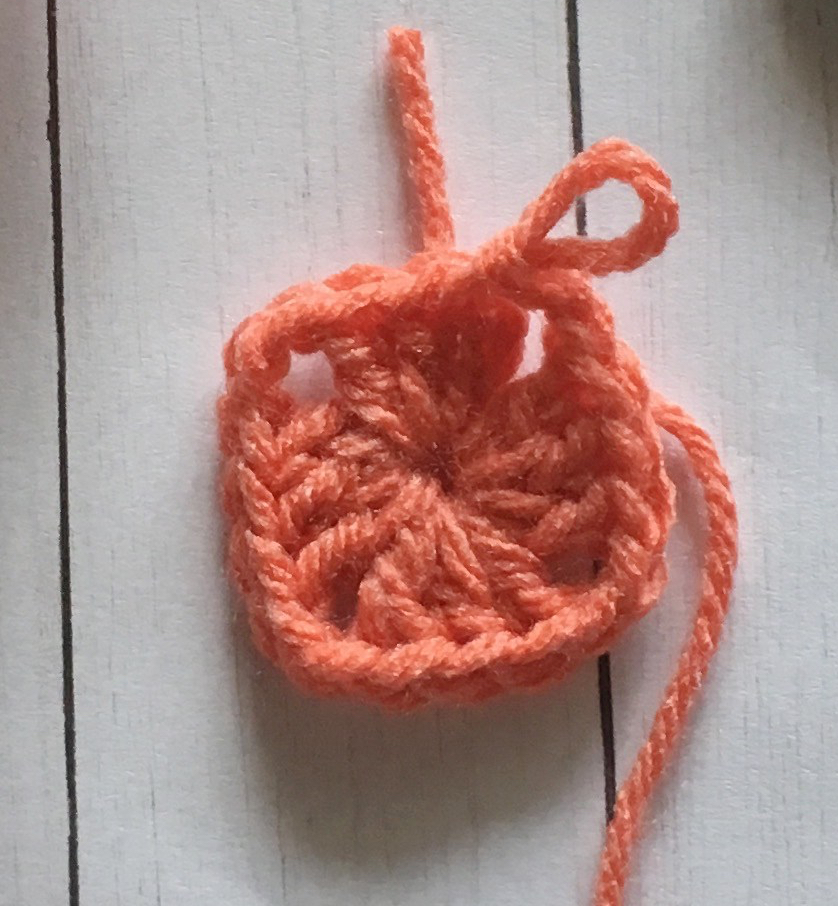
Row 1: Create a magic ring. In the ring: ch 2, 2 dc, ch 2, 3 dc, ch 2, 3 dc, ch 2, 3 dc, ch 2. Sl st to the top of the initial ch 2 (19).
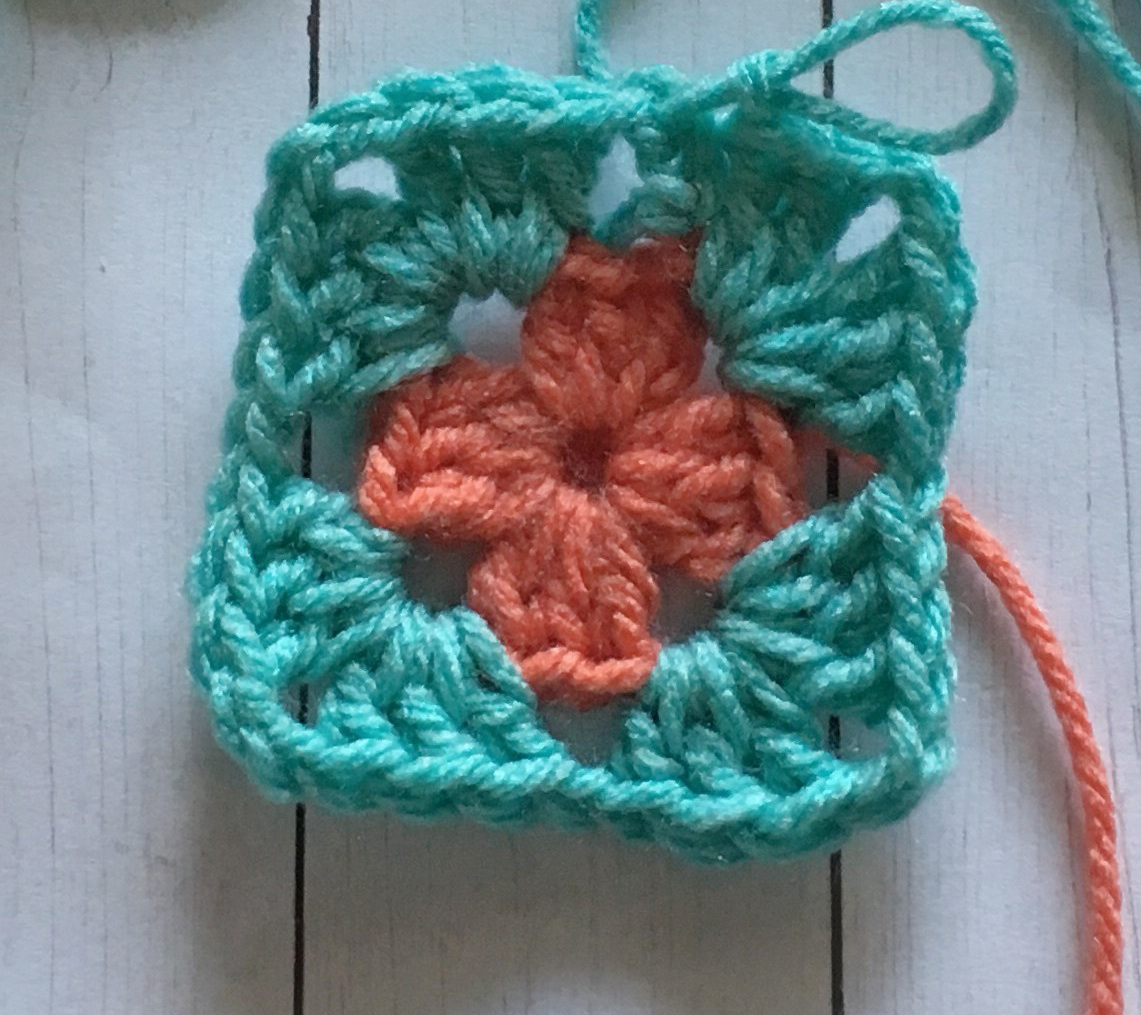
Row 2: Ch 3. In the first ch 2 space of the previous row [ 3dc, ch 2, 3 dc]. Ch 1. In the next ch 2 space [ 3 dc, ch 2, 3 dc]. Ch 1. In the next ch 2 space [3 dc, ch 2, 3 dc]. Ch 1. In the last ch 2 space [ 3 dc, ch 2, 2 dc]. Sl st to the second chain of the initial ch 3 (34).
Row 3: Ch 2. 2 dc in 1st ch 1 space. Ch 1. In next ch 2 sp [3 dc, ch 2, 3 dc]. Ch 1. 3 dc in the next ch 1 sp. Ch 1. In next ch 2 sp [3 dc, ch 2, 3 dc]. Ch 1. 3 dc in the next ch 1 sp. Ch 1. In next ch 2 sp [3 dc, ch 2, 3 dc]. Ch 1. 3 dc in the next ch 1 sp. Ch 1. In next ch 2 sp [3 dc, ch 2, 3 dc]. Ch 1. 3 dc in the next ch 1 sp. Ch 1. Sl st to the top of the initial ch 2 (55).
Row 4: Ch 3. 3 dc in the next ch 1 sp. Ch 1. In the next ch 2 sp [3 dc, ch 2, 3 dc]. Ch 1. 3 dc in the next ch 1 sp. Ch 1. 3 dc in the next ch 1 sp. Ch 1. In next ch 2 sp [3 dc, ch 2, 3 dc]. Ch 1. 3 dc in the next ch 1 sp. Ch 1. 3 dc in the next ch 1 sp. Ch 1. In next ch 2 sp [3 dc, ch 2, 3 dc]. Ch 1. 3 dc in the next ch 1 sp. Ch 1. 3 dc in the next ch 1 sp. Ch 1. In next ch 2 sp [3 dc, ch 2, 3 dc]. Ch 1. 2 dc in the next ch 1 sp. Sl st to the 2nd ch of initial ch 3 (66).
Liner Instruction:
- Cut the two fabrics to the size of the large square.
- Place the fabrics together with the right sides facing outward.
- Fold the two pieces in half so the printed fabric is on the outside. The printed fabric will be the fabric seen on the inside of the pouch. The folded fabric will be shaped like a rectangle.
- Using a sewing needle and thread, begin sewing by sewing along both of the short sides. This will leave one of the long sides open. This long side will make the pouch opening.
- Place the zipper on the top of the pouch upside-down. Sew along both sides of the zipper. Trim the zipper before sewing if needed.
- Open the zipper and flip the pouch inside-out. Now the printed fabric should be on the inside and the zipper should be facing the right way.
Sewing Instructions:
- Lay all four granny squares together so they make one big square. Sew all four together with yarn and a yarn needle.
- Fold the large square in half. This will make the square look like a rectangle with two granny squares on each side.
- Sew along the two shorter sides, leaving the long side open to insert the liner.
- Insert the liner into the pouch. Using a sewing needle and thread, sew along the outer edge of the zipper to attach the liner to the granny square pouch.
That’s it! I hope you enjoyed this pattern. Don’t forget to check out the rest of the designs featured in the blog hop!
Share your finished projects with me on social media:
Instagram: @SunSandStitch
Facebook: Facebook.com/SunSandStitch
Pinterest: Pinterest.com/SunSandStitch
Feel free to sell items from this pattern, but I do ask that you reference me as the creator of the design. Please do not use my photos.
Happy Stitching!
Jess
