Are you excited for fall like I am? I can’t wait to wear all my crochet sweaters (I have a few patterns in the works for sweaters so stay tuned!), hot chocolate and cooler weather! Seriously though, it’s been so hot here in San Diego. I’m ready for a cool down!
This is the first fall pattern for this season! (Oh yes I have more coming!) I am thinking of some scarves and sweater patterns. If you have any requests for patterns send me a message and let me know!
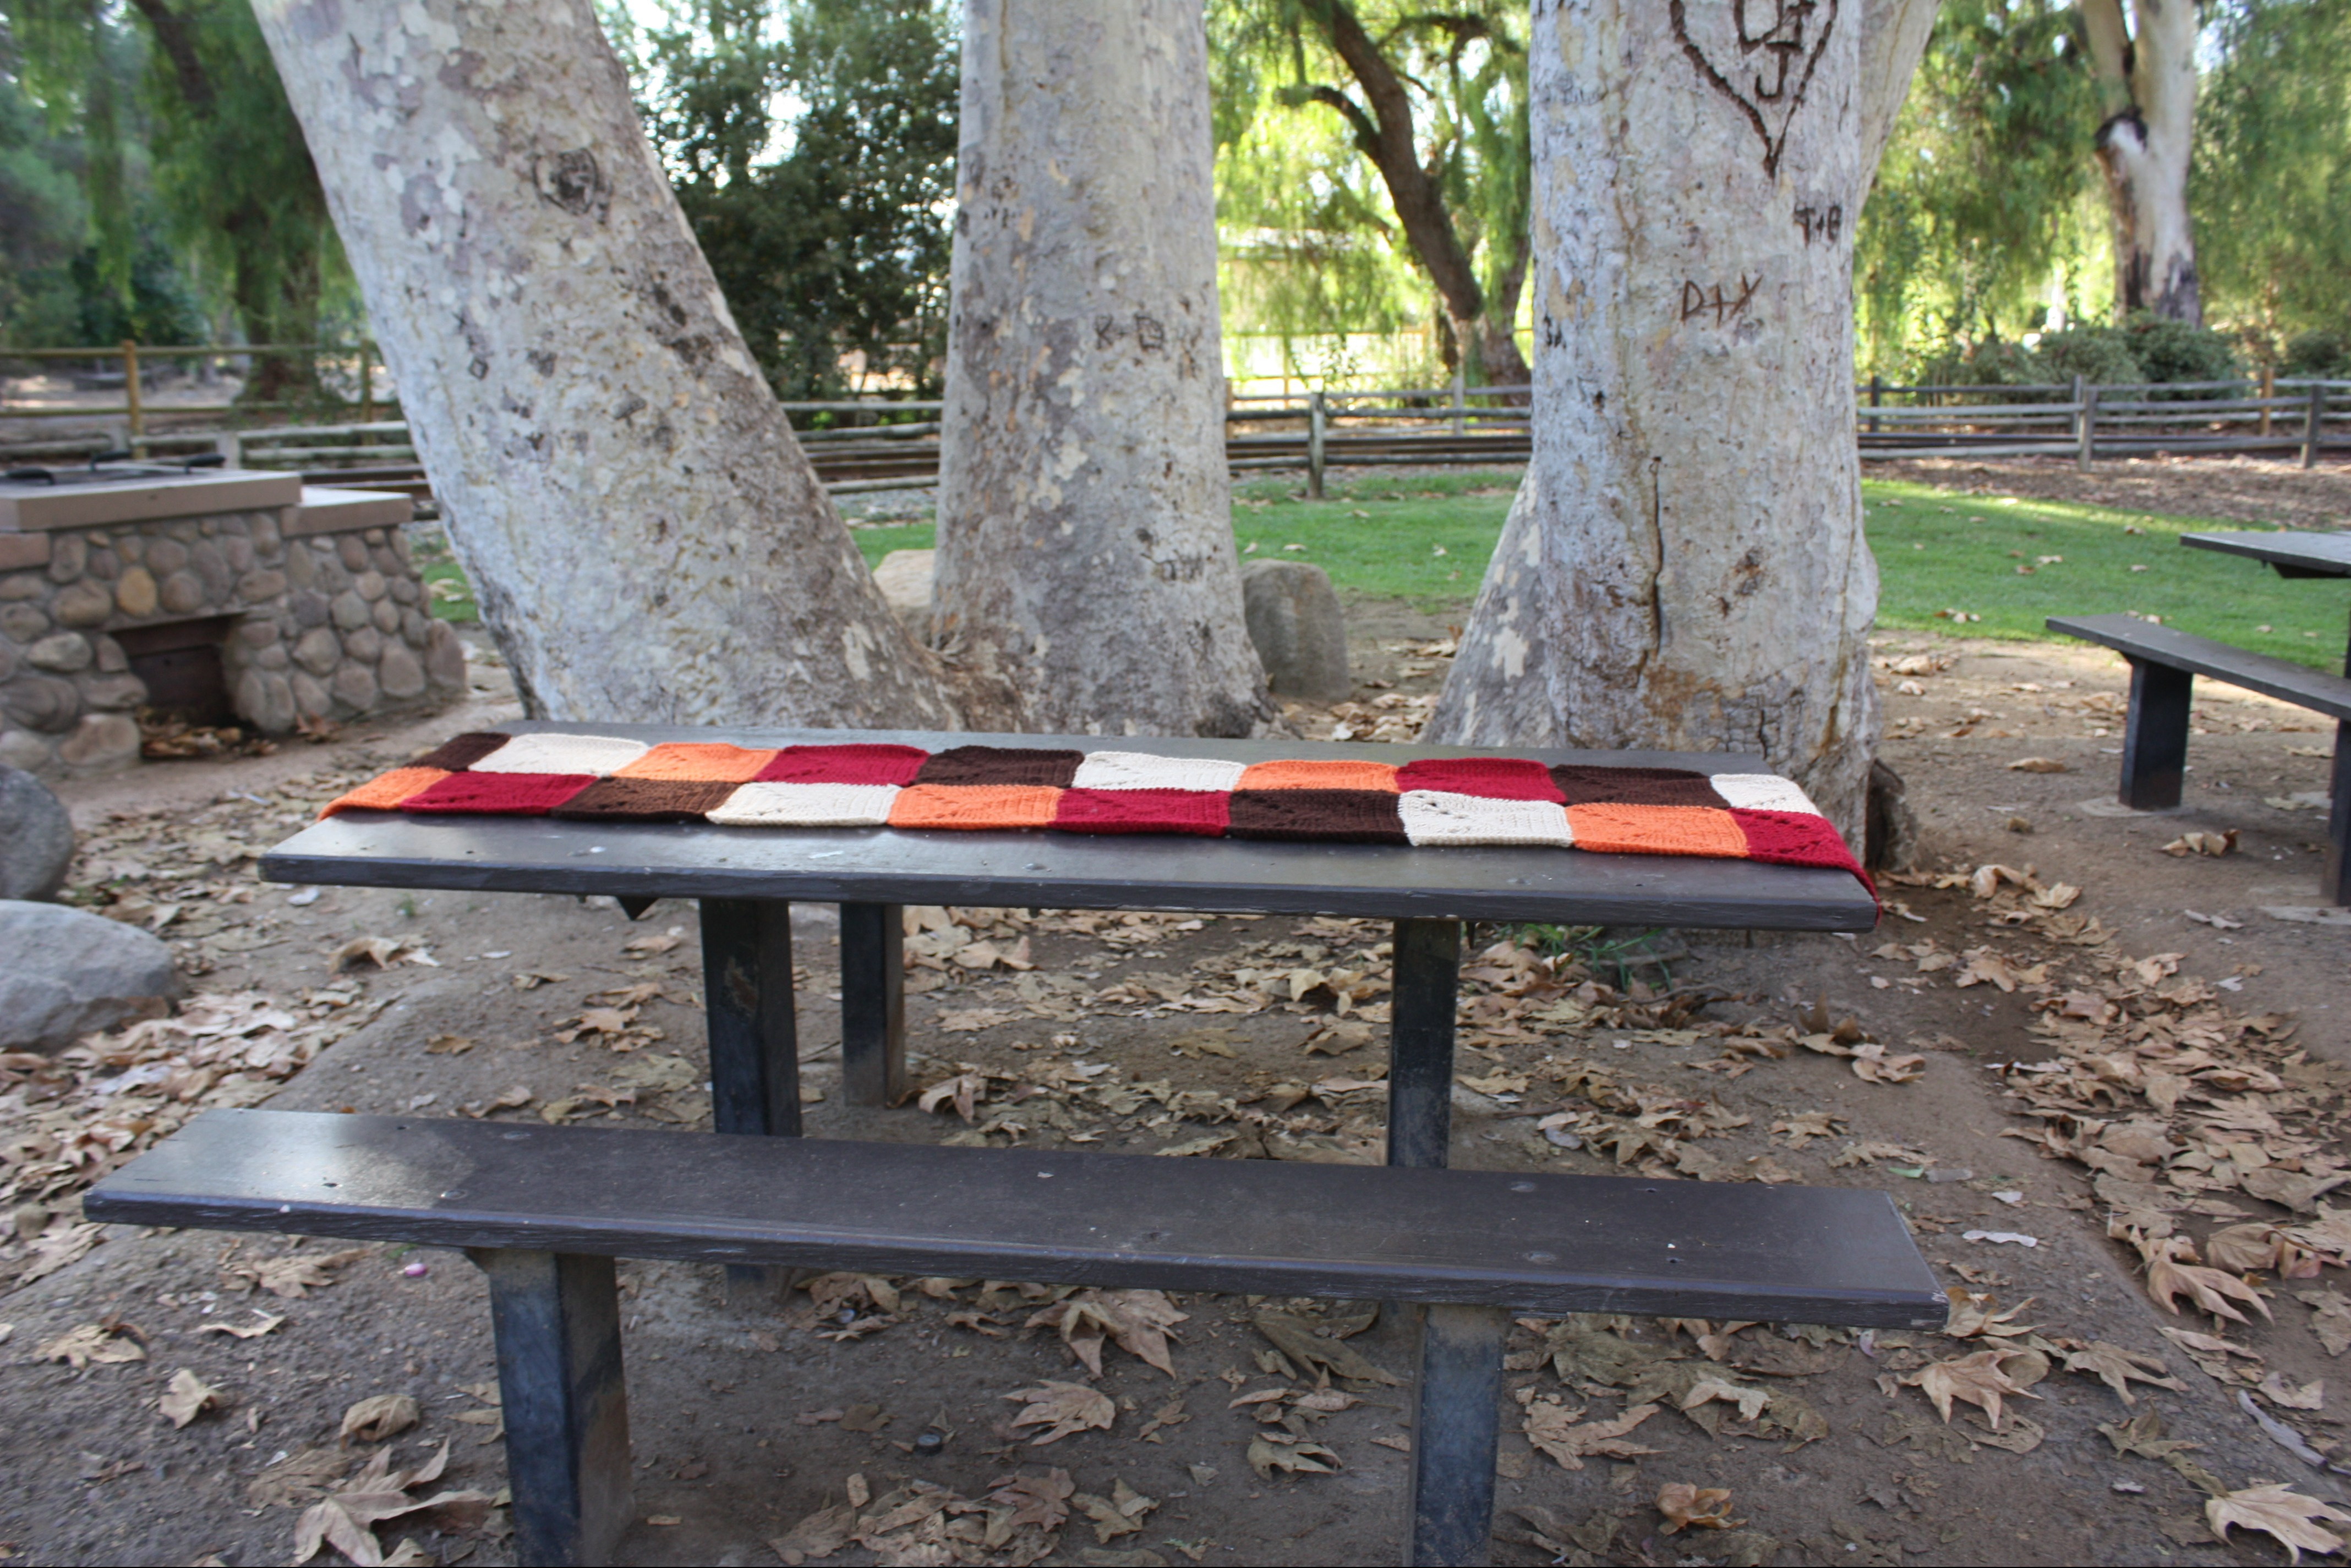
This pattern was made per request of my mom. We have a big dinning room table that we have Thanksgiving at that my mom alway likes to dress up. In years past she’s had colored placemats and various table cloths. This year she asked me to make her a table runner.
I decided I wanted to incorporate various fall colors, but I didn’t want it to look too busy. I think that the solid granny squares represent those fall colors without overdoing it.
Now without further or do, here’s the pattern!
***If you would like to support my small business or would like a PDF copy of the pattern you can get it here. I appreciate your support!***
This pattern uses worsted weight yarn and an I/ 5.5mm crochet hook. You can get my favorite set here.
Check out my blog post 5 Things Every Crochet Beginner Needs to Know to see a review of this hook set and why I love it so much!
For this pattern I used Red Heart Super Saver in the colors buff, pumpkin, brown, and burgundy. 200 yards of each color was used for this project. I made 5 squares of each color. The number of granny squares may vary depending on how long you want your table runner. My finished table runner measured 15 inches wide by 75 inches long.
*Notes: Ch 2 counts as a dc and Ch 4 counts as a tc (also explained within the pattern).
Gauge: 1 finished granny square measures 7 1/2 inches by 7 1/2 inches.
Stitches used:
Ch- chain
Sc- single crochet
Dc- double crochet
Tc- trouble crochet
Sp- space
Sl st- slip stitch
Ch 4 and sl st to form ring
Round 1: Ch 2 (counts as first dc). 11 dc in the ring. Sl st to top of ch 4 to end row. (12).

Round 2: Ch 4 (counts as 1 tc). Tc into the first st (same as ch 4 sp). *2 dc in the next two stitches. Tc, ch 2, tc in the next sp. Repeat from * 2 more times. 2 dc in next 2 sts. Sl st in the sp of the initial ch 4 to end the row. (30)

Round 3: Ch 4. Tc into the first st. *2 dc in the next st. Dc in the next 4 sts. 2 dc in the next st. Tc, ch 2, tc in the ch 2 space of the previous row. Repeat from * around. Sl st in the sp of the initial ch 4 to end the row. (46)

Round 4: Ch 4. Tc into the first st. *2 dc in the next st. Dc in the next 8 sts. 2 dc in the next st. Tc, ch 2, tc in the ch 2 space of the previous row. Repeat from * around. Sl st in the sp of the initial ch 4 to end the row. (62)

Round 5: Ch 4. Tc into the first st. *2 dc in the next st. Dc in the next 12 sts. 2 dc in the next st. Tc, ch 2, tc in the ch 2 space of the previous row. Repeat from * around. Sl st in the sp of the initial ch 4 to end the row. (78)

Row 6: Ch 1. Sc in each st around. 2 sc in each ch 2 space. Sl st into the first ch to finish. Cut and leave a long tail. (78)
Once all the squares are made, line them up on a flat surface in the order you want. Sew each square together using the mattress stitch. Weave all ends in.

You’re all done! I hop you enjoyed this pattern. I would love to see your finished projects. Tag me on social media @SunSandStitch or use the hashtag #FallTableRunner.
Connect with me online! I can be found on Instagram, Facebook, Etsy and on this blog!
Happy Stitching!
-Jessica


