
Congrats Grad! You did it! Hats off to you! Now just one more thing to prep before graduation- your cap!
I designed this cap because of my own graduation. I wanted to incorporate crochet into this design because of how much it has impacted me throughout my college experience. I originally learned to crochet as a creative outlet to help relieve stress and anxiety. Now I have designed a pattern in celebration of all those years of hard work.
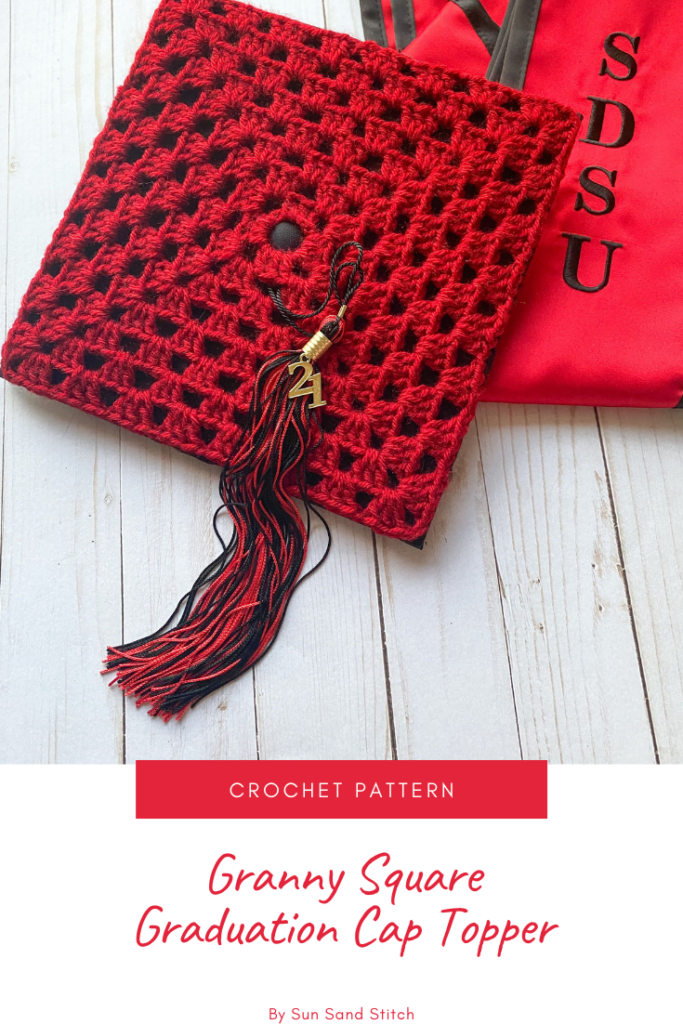
Save this pattern for later on Pinterest!
If you’d like to purchase the ad-free version of this pattern you can do so on both Ravelry and Etsy.
Now onto the pattern!
For this pattern you’ll need the following:
- 1 skein of Lion Brand Vanna’s Choice. I used the color cranberry to match my school color.
- Or approx. 60 yards of worsted weight #4 yarn
- Size H/ 5.0 mm crochet hook (or hook to obtain gauge)
- Scissors
- Yarn needle
- Sewing needle
- Thread (in the color of your cap)
Pattern Notes:
- This pattern is written in US terms
- Ch 1 at the beginning of row does not count as a stitch unless specified.
- This pattern follows a traditional granny square technique
- This pattern will make a cap topper approx. 9 inches x 9 inches. Notes following the pattern specify how to adjust the pattern to fit additional size caps.
Stitches:
Ch= Chain
Dc = double crochet
Sl st = Slip stitch
Sp = space
St = Stitch
Gauge:
4 in = 12 stitches x 4 rows
Finished Measurement:
Finished topper measures approx. 9 inches x 9 inches. Following the pattern, there are instructions for how to make the topper bigger or smaller if needed to fit your cap.
Pattern:
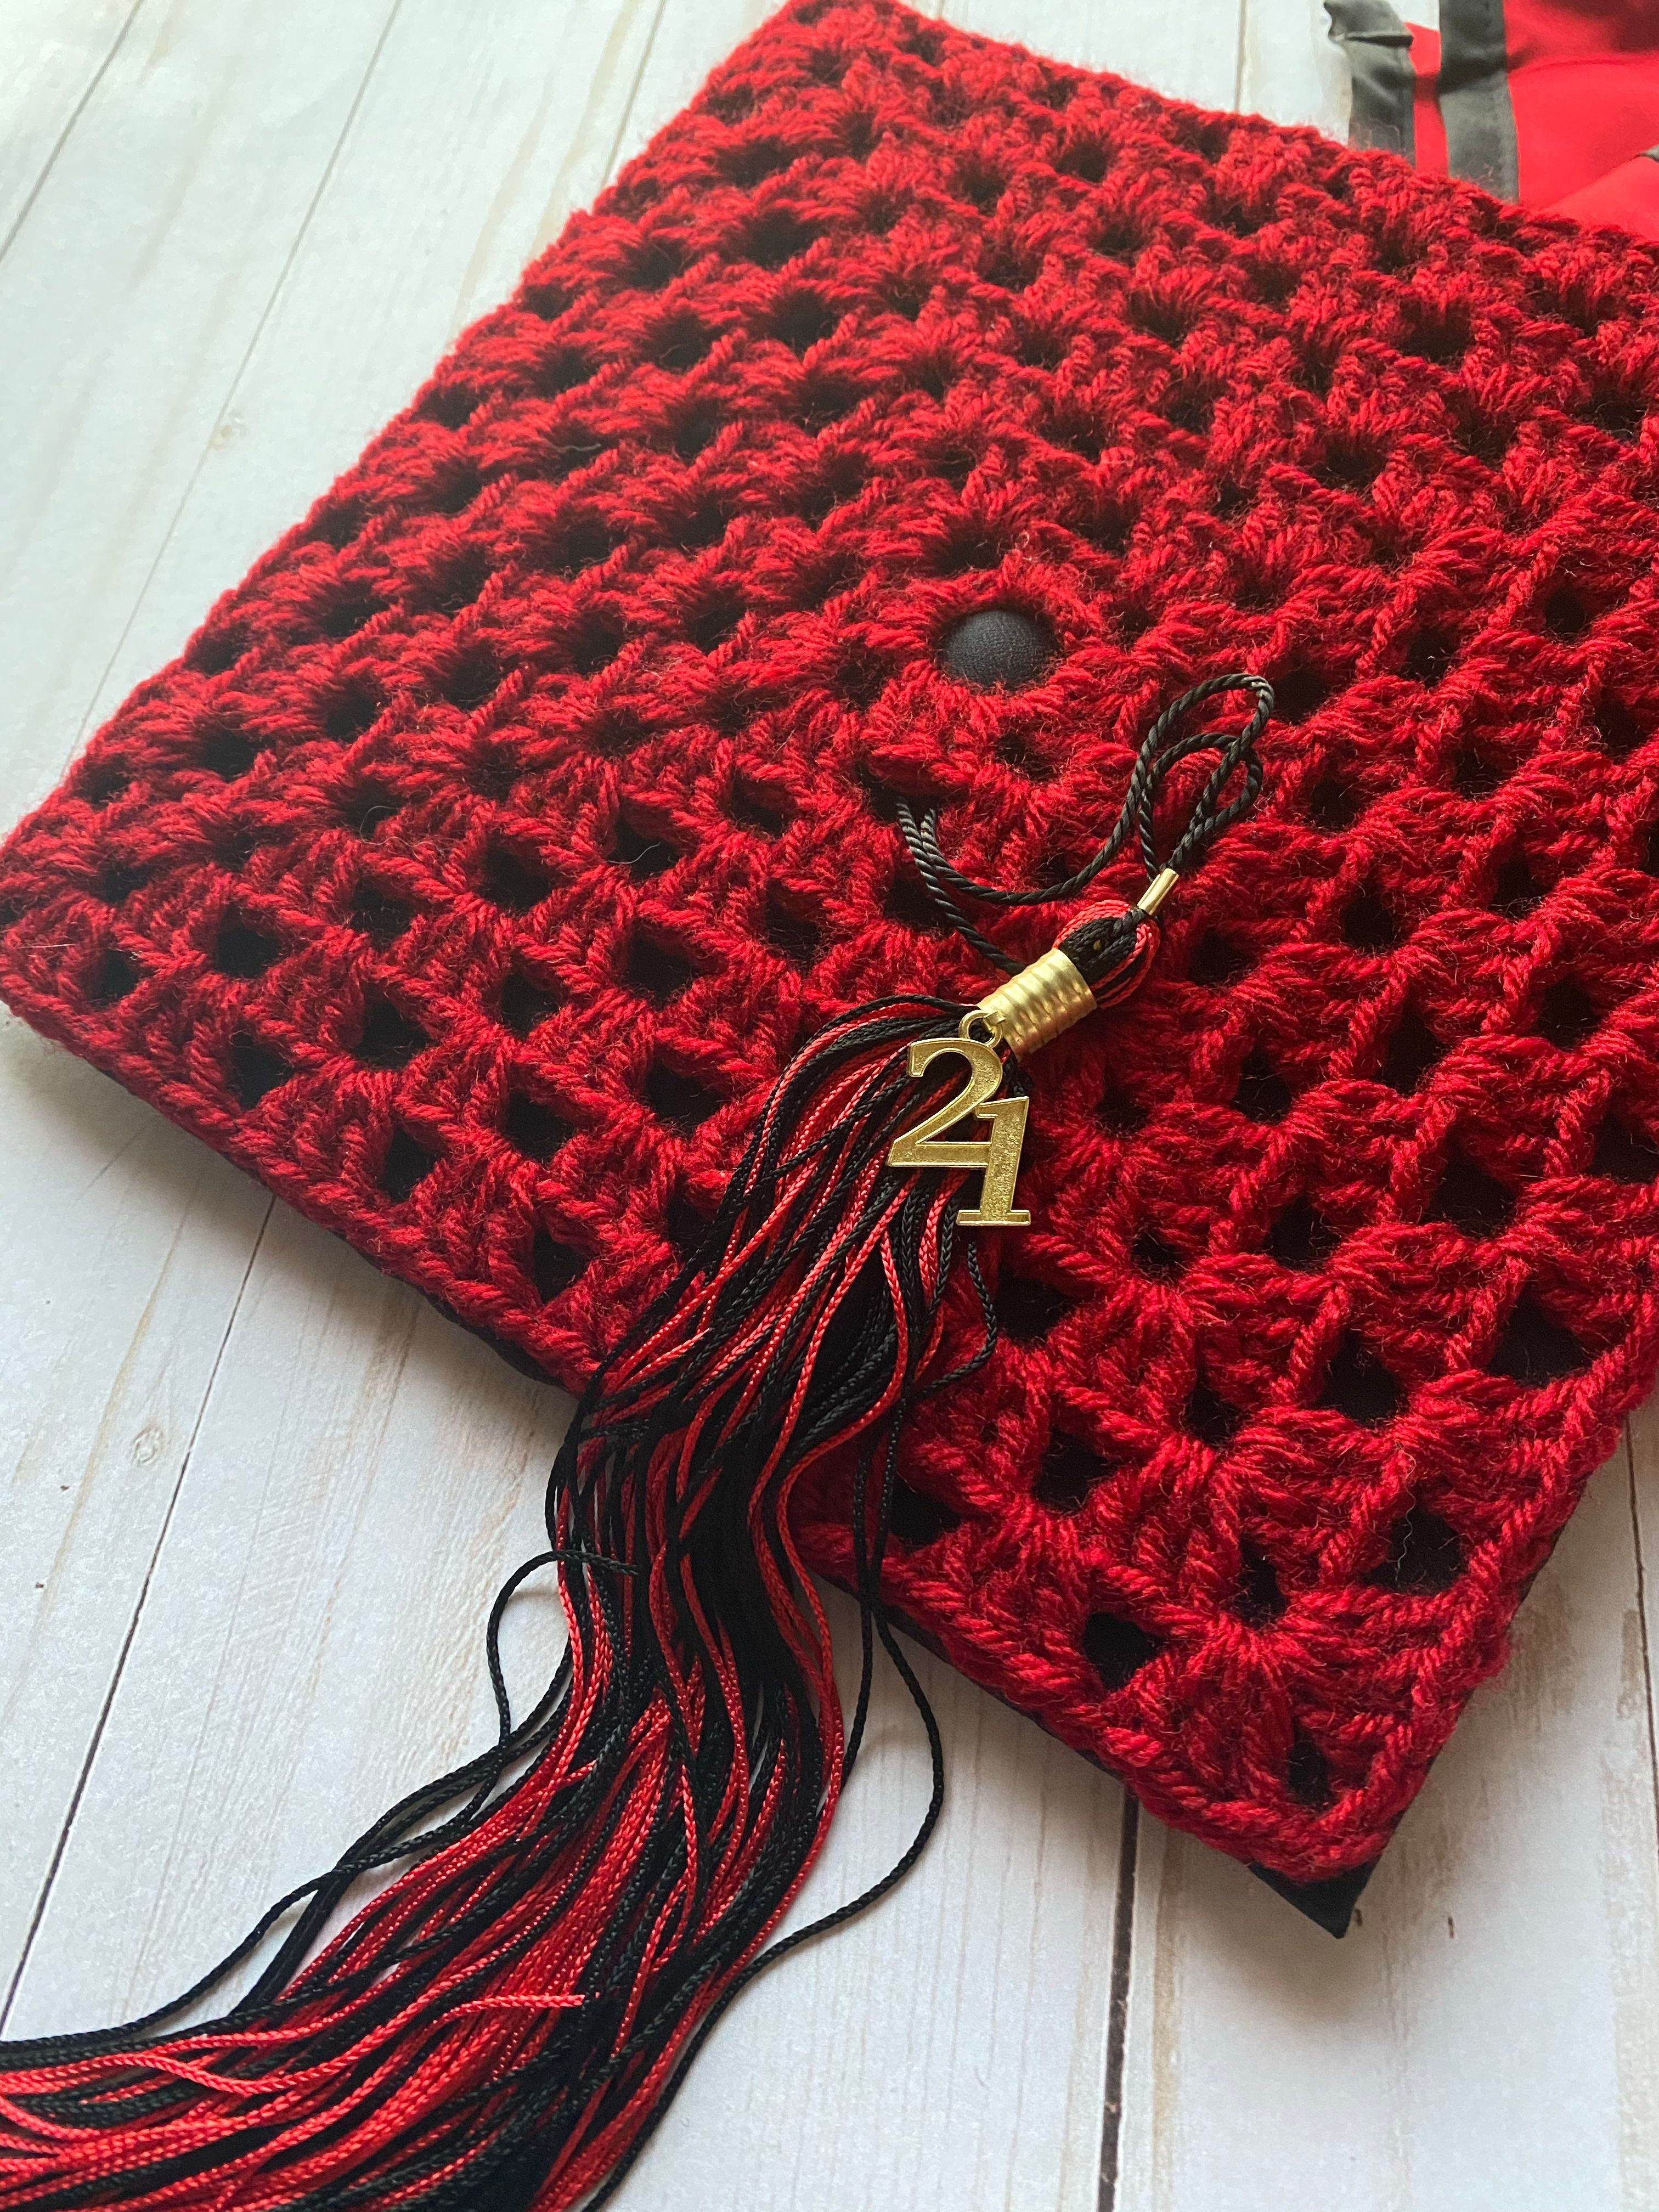
Ch 10. Sl st to the first ch to form a ring. Be sure to check that this opening fits the button on the top of your cap (that way you can still hang your tassel!)
Row 1: Ch 2. 2dc, ch 2, 3 dc, ch 2, 3dc, ch 2, 3 dc, ch 2. Sl st to initial ch 2.
Row 2: Ch 3. [3 dc, ch 2, 3 dc] in the first ch 1 space from the previous row. Ch 1. [3 dc, ch 2, 3 dc] in the next ch 1 space. Ch 1. [3 dc, ch 2, 3 dc] in the next ch 1 sp. ch 1. [3 dc, ch 2, 3 dc]. Sl st to the 2nd ch of the initial ch 3.
Row 3: Ch 2. 2 dc in first ch 1 sp. In the corner, [3 dc, ch 2, 3 dc]. Ch 1. 3 dc in the next ch 1 sp. ch 1. [3 dc, ch 2, 3 dc] in the next corner. Ch 1. 3 dc in the next ch 1 sp. ch 1. [3 dc, ch 2, 3 dc] in the next corner. Ch 1. 3 dc in the next ch 1 sp. ch 1. [3 dc, ch 2, 3 dc] in the next corner. Ch 1. Sl st to top of initial ch 2.
Row 4: Ch 3. 3 dc in the first ch 1 sp. ch 1. [3 dc, ch 2, 3 dc] in the first corner. Ch 1. 3 dc in the next ch 1 sp. Ch 1. 3 dc in the next ch 1 sp. ch 1. [3 dc, ch 2, 3 dc] on the next corner. Ch 1. 3 dc in the next ch 1 sp. Ch 1. 3 dc in the next ch 1 sp. ch 1. [3 dc, ch 2, 3 dc] on the next corner. Ch 1. 3 dc in the next ch 1 sp. Ch 1. 3 dc in the next ch 1 sp. Ch 1. [3 dc, ch 2, 3 dc] on the next corner. Ch 1. Sl st to the 2nd ch of the initial ch 3.
Row 5: Ch 2. 2 dc in first ch 1 sp. Ch 1. 3 dc in next ch 1 sp. Ch 1. [3 dc, ch 2, 3 dc] on the first corner. Ch 1. 3 dc in next ch 1 sp. Ch 1. 3 dc in next ch 1 sp. Ch 1. 3 dc in next ch 1 sp. ch 1. [3 dc, ch 2, 3 dc] on the next corner. Ch 1. 3 dc in next ch 1 sp. Ch 1. 3 dc in next ch 1 sp. Ch 1. 3 dc in next ch 1 sp. ch 1. [3 dc, ch 2, 3 dc] on the next corner. Ch 1. 3 dc in next ch 1 sp. Ch 1. 3 dc in next ch 1 sp. Ch 1. 3 dc in next ch 1 sp. Ch 1. [3 dc, ch 2, 3 dc] on the next corner. Ch 1. 3 dc in next ch 1 sp. Ch 1. Sl st to top of ch 2.
Row 6: Ch 3. 3 dc in the next ch 1 sp. Ch 1. 3 dc in the next ch 1 sp. Ch 1. [3 dc, ch 2, 3 dc] in the next corner. Ch 1. 3 dc in the next ch 1 sp. Ch 1. 3 dc in the next ch 1 sp. Ch 1. 3 dc in the next ch 1 sp. Ch 1. 3 dc in the next ch 1 sp. Ch 1. [3 dc, ch 2, 3 dc] in the next corner. Ch 1. 3 dc in the next ch 1 sp. Ch 1. 3 dc in the next ch 1 sp. Ch 1. 3 dc in the next ch 1 sp. Ch 1. 3 dc in the next ch 1 sp. Ch 1. [3 dc, ch 2, 3 dc] in the next corner. Ch 1. 3 dc in the next ch 1 sp. Ch 1. 3 dc in the next ch 1 sp. Ch 1. 3 dc in the next ch 1 sp. Ch 1. 3 dc in the next ch 1 sp. Ch 1. [3 dc, ch 2, 3 dc] in the next corner. Ch 1. 3 dc in the next ch 1 sp. Ch 1. 2 dc in the last ch 1 sp. Sl st to the 2nd ch of the initial ch 3.
Row 7: Ch 2. 2 dc in the first ch 1 sp. Ch 1. 3 dc in the next ch 1 sp. Ch 1. 3 dc in the next ch 1 sp. Ch 1. [3 dc, ch 2, 3 dc] in the next corner. Ch 1. 3 dc in the next ch 1 sp. Ch 1. 3 dc in the next ch 1 sp. Ch 1. 3 dc in the next ch 1 sp. Ch 1. 3 dc in the next ch 1 sp. Ch 1. 3 dc in the next ch 1 sp. Ch 1. [3 dc, ch 2, 3 dc] in the next corner. Ch 1. 3 dc in the next ch 1 sp. Ch 1. 3 dc in the next ch 1 sp. Ch 1. 3 dc in the next ch 1 sp. Ch 1. 3 dc in the next ch 1 sp. Ch 1. 3 dc in the next ch 1 sp. Ch 1. [3 dc, ch 2, 3 dc] in the next corner. Ch 1. 3 dc in the next ch 1 sp. Ch 1. 3 dc in the next ch 1 sp. Ch 1. 3 dc in the next ch 1 sp. Ch 1. 3 dc in the next ch 1 sp. Ch 1. 3 dc in the next ch 1 sp. Ch 1. [3 dc, ch 2, 3 dc] in the next corner. Ch 1. 3 dc in the next ch 1 sp. Ch 1. 3 dc in the next ch 1 sp. Ch 1. Sl st to the initial ch 2.
Row 8: Ch 3. 3 dc in the next ch 1 sp. Ch 1. 3 dc in the next ch 1 sp. Ch 1. 3 dc in the next ch 1 sp. Ch 1. [3 dc, ch 2, 3 dc] in the next corner. Ch 1. 3 dc in the next ch 1 sp. Ch 1. 3 dc in the next ch 1 sp. Ch 1. 3 dc in the next ch 1 sp. Ch 1. 3 dc in the next ch 1 sp. Ch 1. 3 dc in the next ch 1 sp. Ch 1. 3 dc in the next ch 1 sp. Ch 1. [3 dc, ch 2, 3 dc] in the next corner. Ch 1. 3 dc in the next ch 1 sp. Ch 1. 3 dc in the next ch 1 sp. Ch 1. 3 dc in the next ch 1 sp. Ch 1. 3 dc in the next ch 1 sp. Ch 1. 3 dc in the next ch 1 sp. Ch 1. 3 dc in the next ch 1 sp. Ch 1. [3 dc, ch 2, 3 dc] in the next corner. Ch 1. 3 dc in the next ch 1 sp. Ch 1. 3 dc in the next ch 1 sp. Ch 1. 3 dc in the next ch 1 sp. Ch 1. 3 dc in the next ch 1 sp. Ch 1. 3 dc in the next ch 1 sp. Ch 1. 3 dc in the next ch 1 sp. Ch 1. [3dc, ch 2, 3 dc] in the next corner. Ch 1. 3 dc in the next ch 1 sp. Ch 1. 3 dc in the next ch 1 sp. Ch 1. 2 dc in the last ch 1 sp. Sl st to the 2nd ch of the initial ch 3.
Cut yarn from the skein and weave in the ends.
Note: I went up to row 8 to fit my cap. If your cap is smaller or larger you may need to adjust the number of rows to fit. To make the cap bigger, continue the pattern by placing 3 dc in each ch 1 sp and by placing [3 dc, ch 2, 3 dc] in each corner.
Assembly
Place your granny square on top of your cap. Be sure to line up the center hole with the button. Using a needle and thread (be sure your thread is the same color as your cap), sew the outer edge of row 8 to the edge of the cap. You may notice that the cap itself has a piece inside that is difficult to sew through. Instead of sewing through that, be sure that you’re sewing through the very edge of the cap that is just fabric. Add your tassel and you’re done!
Congratulations on your graduation. Enjoy your day. After all your hard work, you deserve it!
Be sure to share your finished product with me! I would love to see you and your cap in all its graduation glory!
Share them with me on social media: