I’m super excited for you all to see this pattern because this pattern is also being featured on E’Claire Makery! (You can check out the blog post here.)
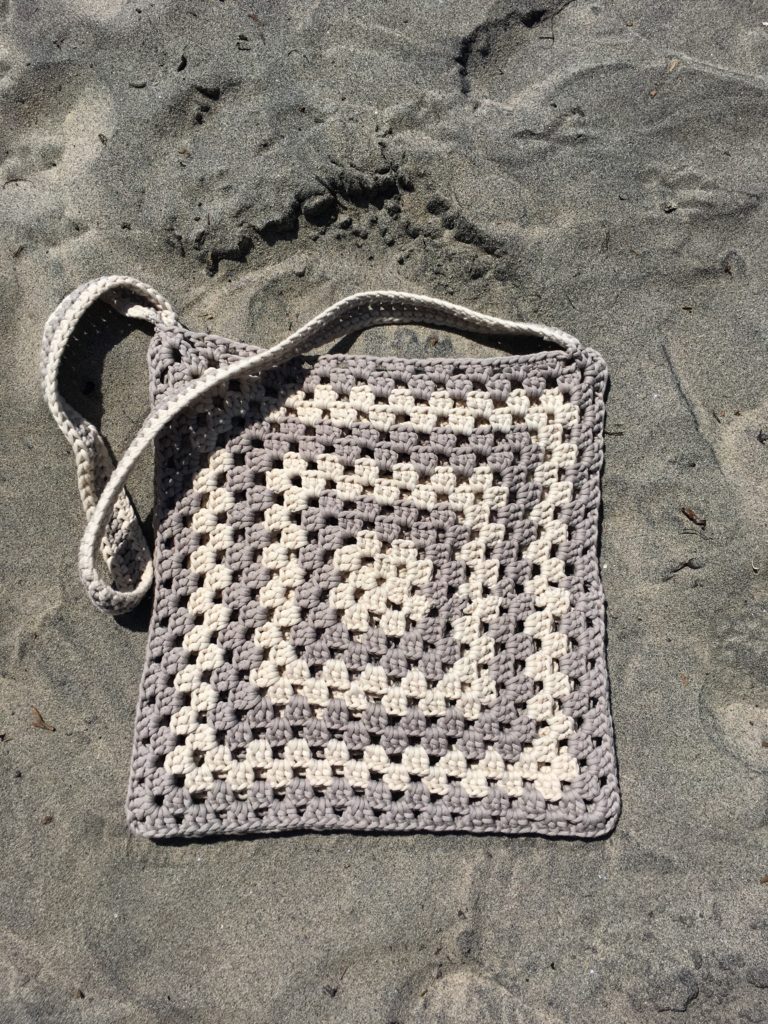
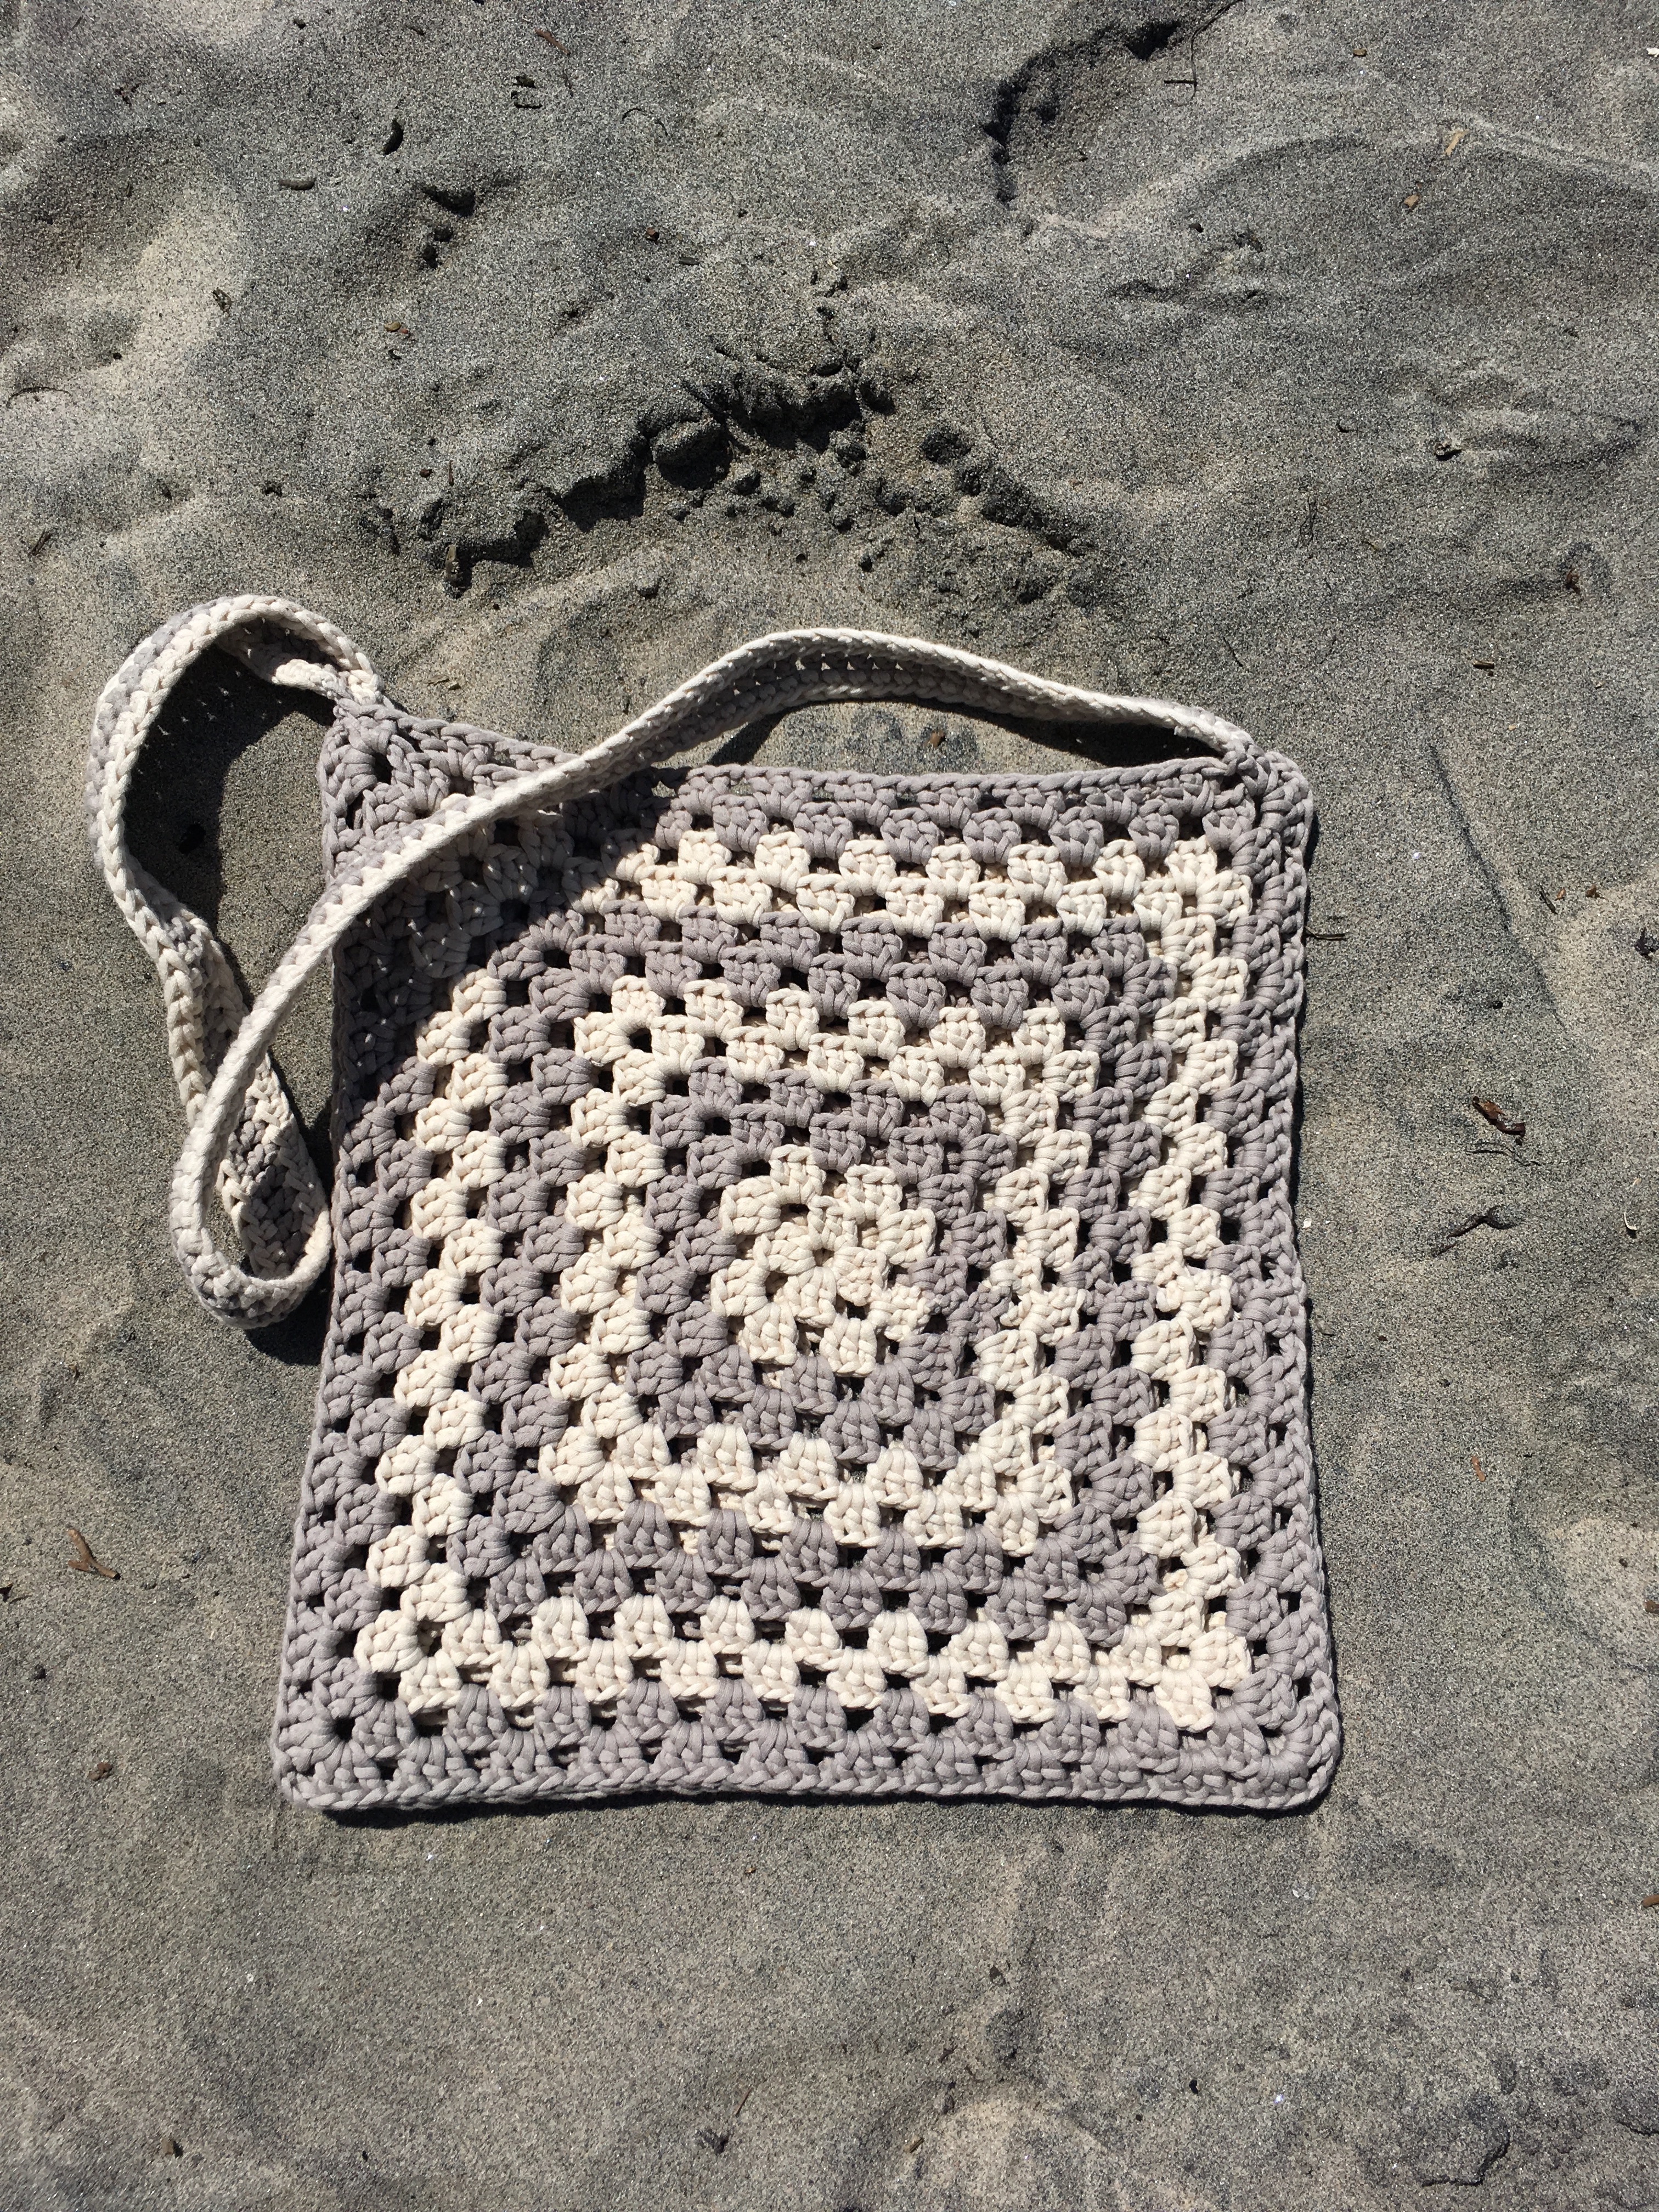
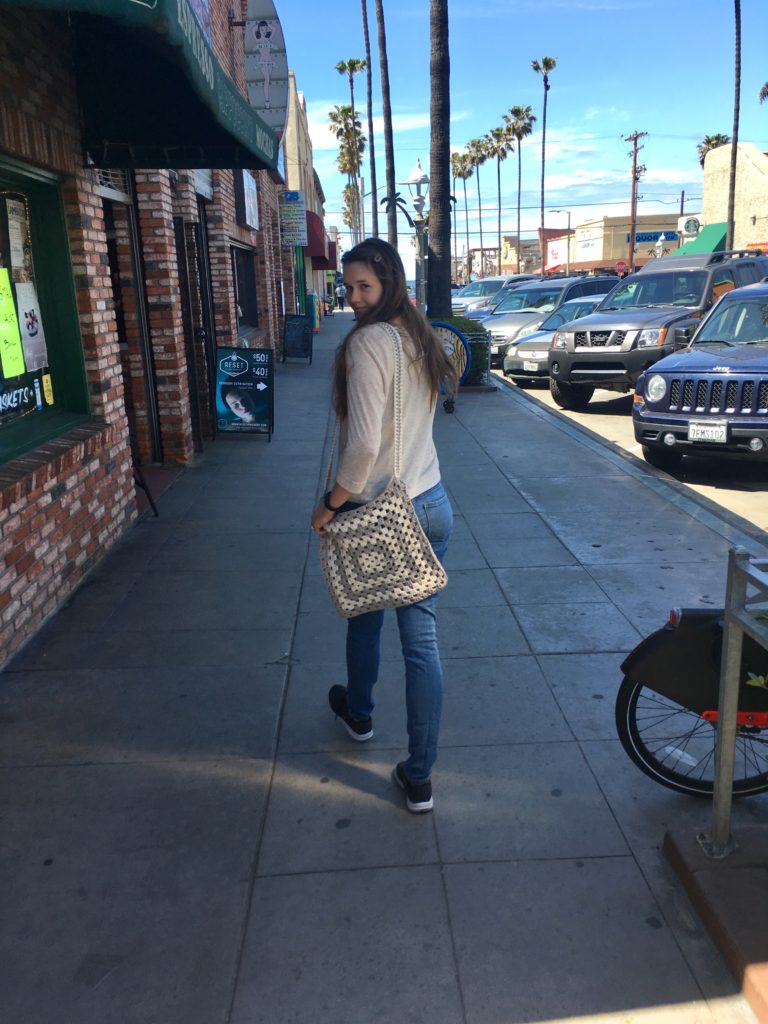
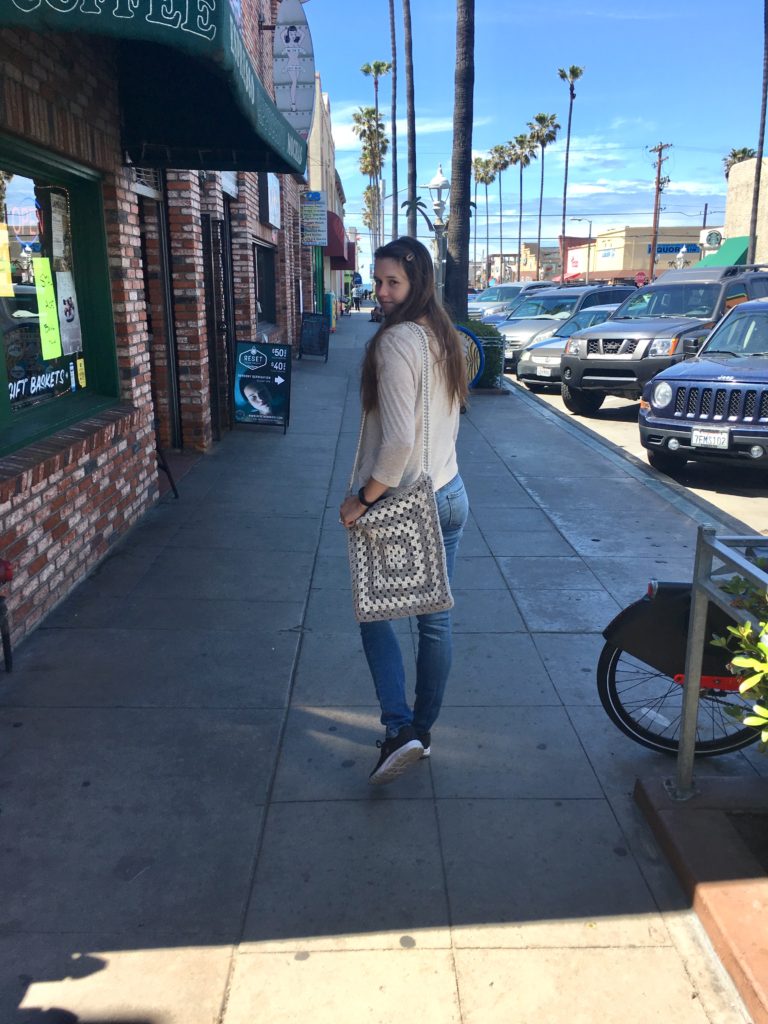
This bag is super easy to create. It is just two granny squares sewed together with a strap. It is also perfect for spring and summer as a market bag or a beach bag! For this bag I used Bernat Home Maker Dec. by Yarnspirations. There is so many gorgeous colors to choose from! The colors I used are cream (light color) and clay (dark color). I’m now planning to make another in teal for a beach tote!

If you would like and ad-free, printable PDF copy of the pattern you can download it here on Etsy or Ravelry. Thank you for supporting my small business!!
Materials
2 skeins of Bernat Maker Home Dec yarn (Featured colors are cream and clay)
Size J/6.00mm crochet hook
Yarn needle
Scissors
Stitch markers (optional)
Techniques/ Stitches Used
Basic Granny Square
Ch- chain
Dc- double crochet
Hdc- half double crochet
Notes
This pattern is made by creating two granny squares, sewing them together, and then attaching a strap. The strap is long so it can be used as an over the shoulder bag or a cross body bag.
Pattern
For the Bag
You will be creating a basic granny square. Make two of these.
Chain 5. Slip stitch in the first chain to form a ring
Round 1: (In the ring) Chain 3. Place 2 dc. Chain 3. Place 3 dc. Chain 3. Place 3 dc. Chain 3. Place 3 dc. Chain 3. Slip stitch into the top of the initial chain 3.
Round 2: Chain 4. In the chain 3 space from the previous round place [3 dc, chain 3, 3 dc]. Chain 1. In the next chain 3 space from the previous round place [3 dc, chain 3, 3 dc]. Chain 1. In the next chain 3 space from the previous round place [3 dc, chain 3, 3 dc]. Chain 1. In the last chain 3 space from the previous round place [3 dc, chain 3, 2 dc]. Slip stitch into the 3rdchain of the initial chain 4.
Round 3: Chain 3. In the chain 1 space from the previous round place 2 dc. Chain 1. In the chain 3 space created by the previous round place [3 dc, chain 3, 3 dc]. Chain 1. In the next chain 1 space created by the previous row place 3 dc. In the chain 3 space created by the previous round place [3 dc, chain 3, 3 dc]. Chain 1. In the next chain 1 space created by the previous row place 3 dc. In the chain 3 space created by the previous round place [3 dc, chain 3, 3 dc]. Chain 1. In the next chain 1 space created by the previous row place 3 dc. Chain 1. In the last chain 3 space created by the previous round place [3 dc, chain 3, 3 dc]. Chain 1. Slip stitch into the top of the initial chain 3.
Round 4: Chain 4. In the first chain 1 space from the previous row place 3 dc. Chain 1. In the first corner place [3 dc, chain 3, 3 dc]. Chain 1. Place 3 dc in the next chain 1 space created by the previous row. Chain 1. Place 3 dc in the next chain 1 space. Chain 1. In the next corner place [3 dc, chain 3, 3 dc]. Chain 1. 3 dc in the next chain 1 space. Chain 1. 3 dc in the next chain 1 space. Chain 1. In the next corner place [3 dc, chain 3, 3 dc]. Chain 1. 3 dc in the next chain 1 space. Chain 1. 3 dc in the next chain 1 space. Chain 1. In the last corner place [3 dc, chain 3, 3 dc]. Chain 1. Place 2 dc in the last chain 1 space. Slip stitch into the 3rdchain of the initial chain 4.
Round 5: Chain 3. 2 dc in the first chain 1 space. In the corner place [3 dc, chain 3, 3 dc]. Chain 1. In each chain 1 space place 3 dc. Repeat this around until the end. Chain 1. Slip stitch into the top of the initial chain 3.
Round 6: Chain 4. 3 dc in the first chain 1 space. In the corner place [3 dc, chain 3, 3 dc]. Chain 1. In each chain 1 space place 3 dc. Repeat this around until the end. In the last corner place [3 dc, chain 3, 3 dc]. Slip stitch into the 3rdchain of the initial chain 4.
Alternate between rounds 5-6. In each round you will be placing 3 dc in each chain 1 space from the previous row. In each round you will be placing [3 dc, chain 3, 3 dc] in each corner. The difference between the two rounds is the initial chain and the last stitch. Repeat this pattern until your square measures about 14 inches. Make two of these squares.
For the colors I alternated colors every 2 rows, so I would have 2 rows of cream then 2 rows of clay.
For the Strap
Chain 101.
Row 1: Hdc in the 2ndloop from the hook and in each stitch across (100).
Row 2: Change colors. Ch 2 and turn. Dc in each stitch across (100).
Row 3: Change back to first color. Ch 1 and turn. Hdc in each stitch across (100).
Sewing (Assembly)
Begin by placing the two halve of the bag together. I used stitch markers to keep my two sides together while sewing. Sew back and forth in each stitch around the edges to attach the two together. Sew up three sides only (leaving one side open). Sew the strap on the top of the open side.
I hope that you’ve enjoyed this pattern! I would love to see your finished projects. You can find me on Facebook at Facebook.com/SunSandStitch, Instagram at Instagram.com/SunSandStitch, Pinterest at Pinterest.com/SunSandStitch, and on my blog SunSandStitch.com. You can also follow along with any (or all!) of my social media accounts to see my latest projects and patterns!
Happy Stitching!
– Jessica


